A very experienced Book Creator Ambassador shares her project – look out for her top tips at the end of the article!
Book Creator has become my go-to app for so many projects! About four years ago, I started searching for a way to share student work by creating ebooks. After reading a post from Silvia Rosenthal Tolisano called Finally! A BookCreator App, that described how easy the app was to use, I couldn’t wait to get started. Our students have been making all kinds of ePub books ever since!
What is so exciting about Book Creator is that the developers are constantly working on updates that make a powerful app even more amazing.
Using Book Creator to document our heritage
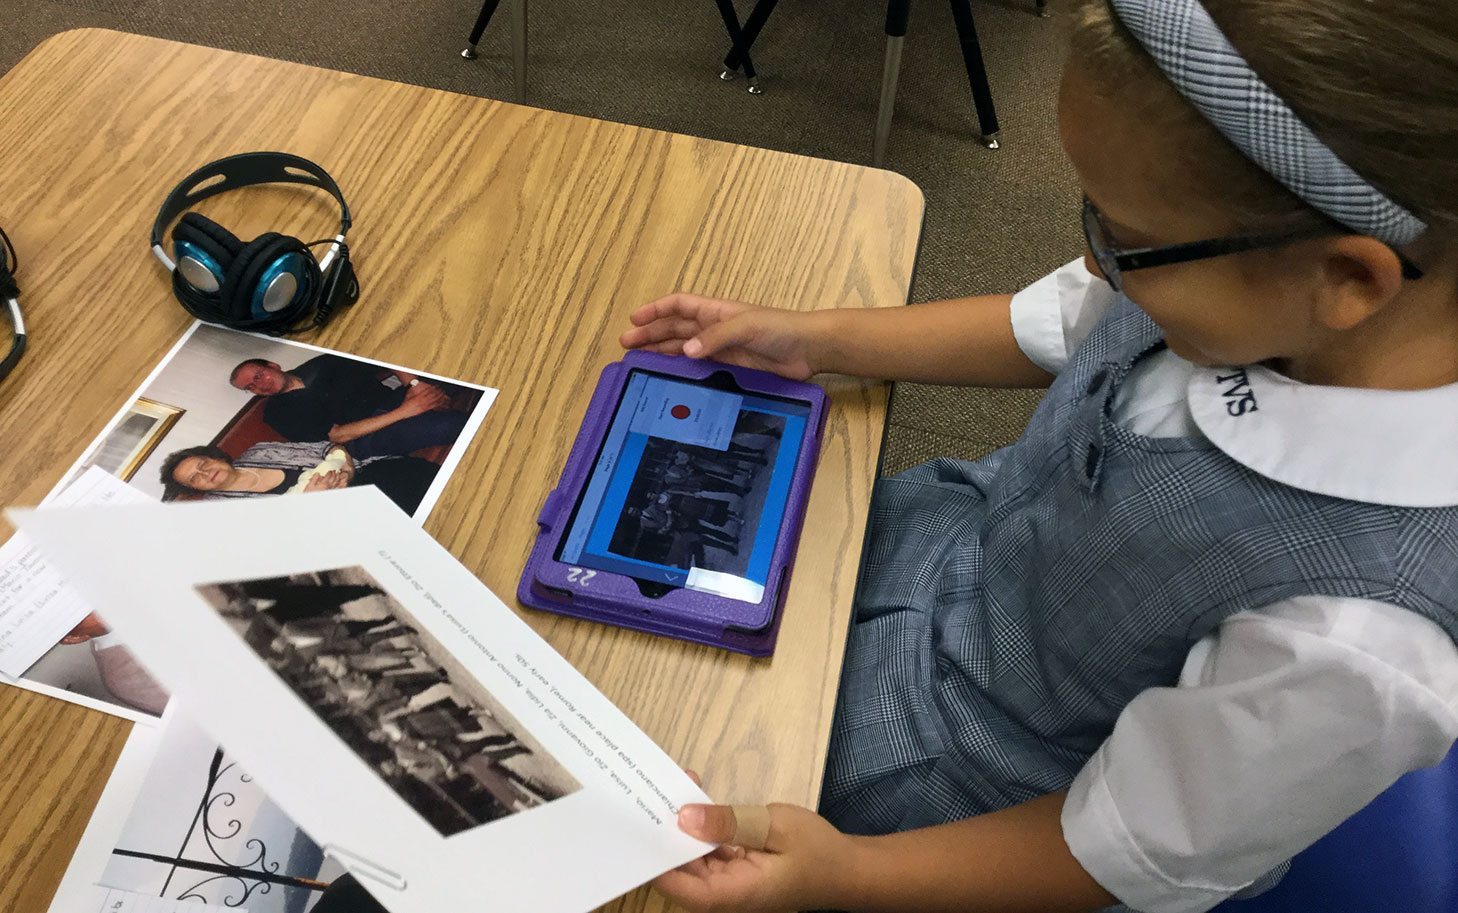
Each fall our second graders create a family heritage project to share with their special visitors on Grandparents’ Day. With help from parents, the children write a narrative about their family history. They bring in photos of family members, sometime from several generations back!
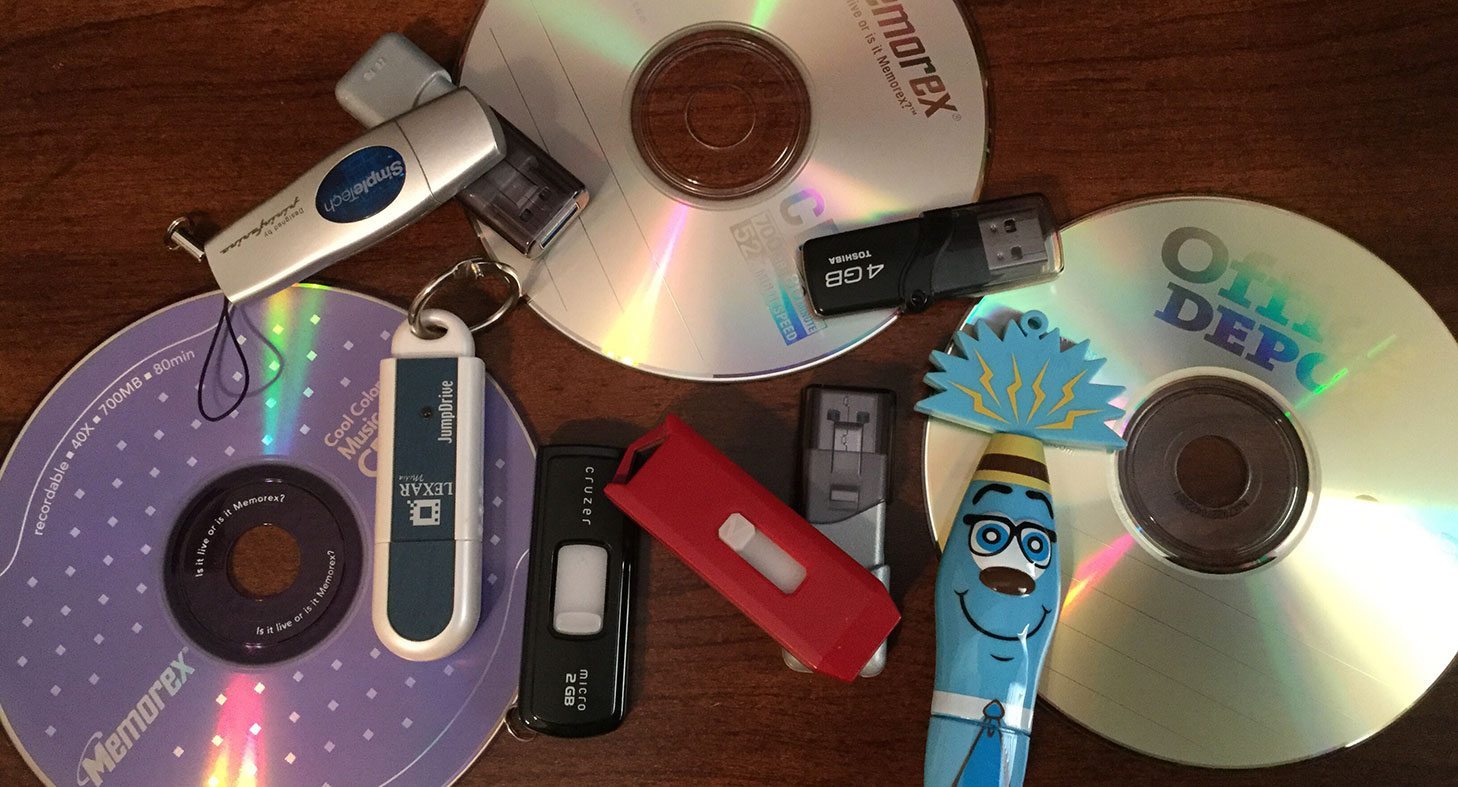
Over the years, we’ve used a variety of online applications to record a video but it’s always been more of a teacher-created project. I would be inundated with hundreds of photos (emailed, on CDs, or flash drives) and would then work on distributing them to the proper child’s home directory. There was a lot of behind-the-scenes work that needed to be done before the child could even begin to record their heritage story!
This had become one of my least favorite projects because it was so time-consuming. However, I knew not doing it wasn’t an option because the grandparents absolutely LOVED it!
Enter Book Creator! Now that the app has the ability to save as video, it became the perfect solution. The students could save their project in two formats so that it could be read as an ePub book in the iBooks app or it could be viewed as a video (a perfect solution for those families without an iOS device).
After brainstorming with Mrs. Shapard, one of the second grade teachers, we even decided how to change the project from teacher-centered to child-created (always a good thing!).
Taking the photos
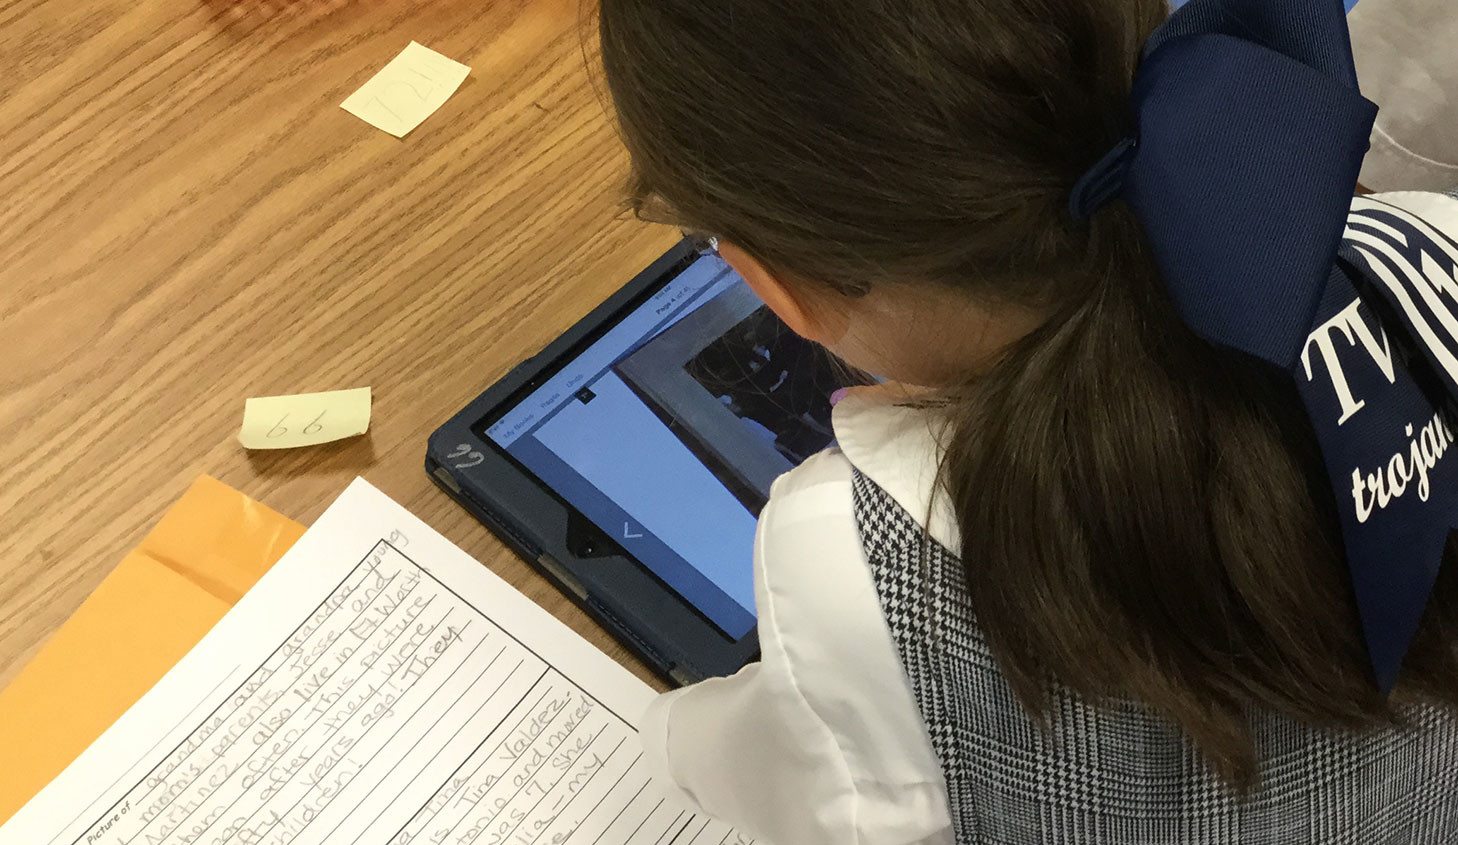
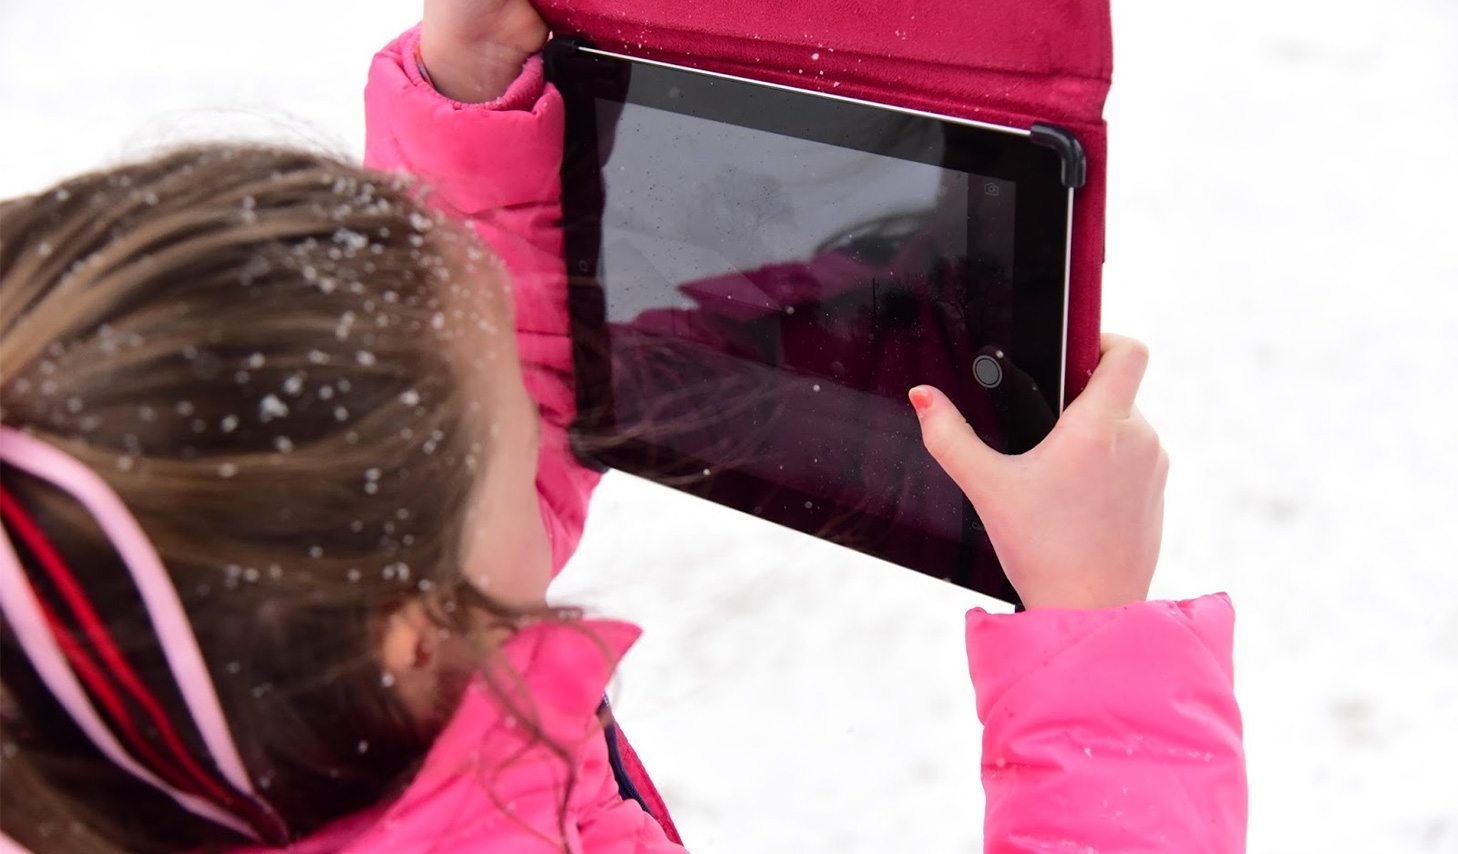
We asked the parents to send actual photos. The students really giggled when I said they were going to take photos of their photos! We had a quick photography and cropping lesson:
 Stand still. (To steady your iPad, pull your arms in close to your body; don’t let them flap like a chicken.)
- Place your photo away from the glare of the lights.
(That might mean moving to another location.) - Move in close to your photo. (Fill the frame.)
- Check for blurriness.
- Crop out everything BUT the photo.
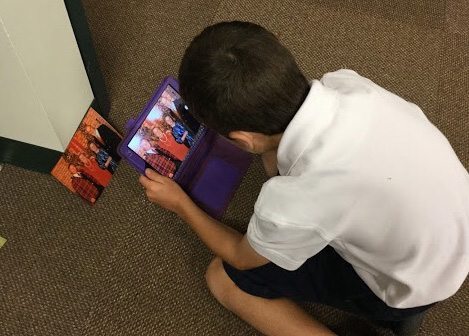
After the lesson, the children scattered around the room in search of the perfect place to take their pictures. It was fun to watch as they took a photo, examined it then re-did it when they thought it wasn’t just right!
Setting up the book
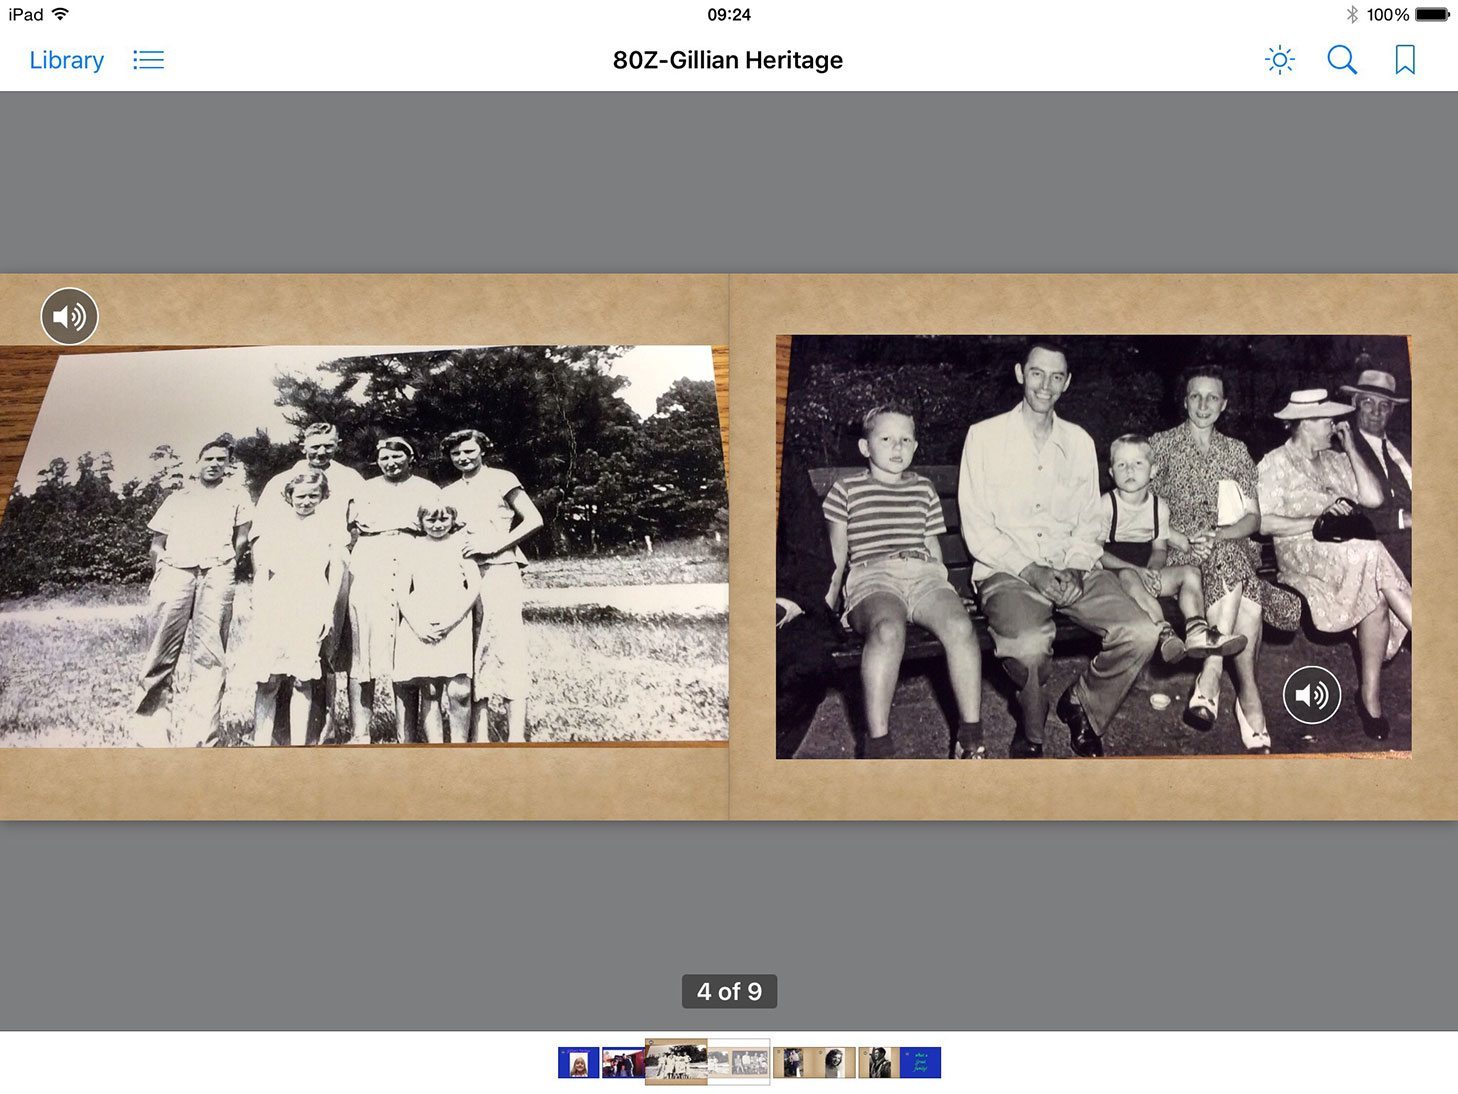
The next step was to insert the photos into the app. To best show off the photographs, we chose the landscape book. The students added the title to the cover – “Their Name’s” Heritage.
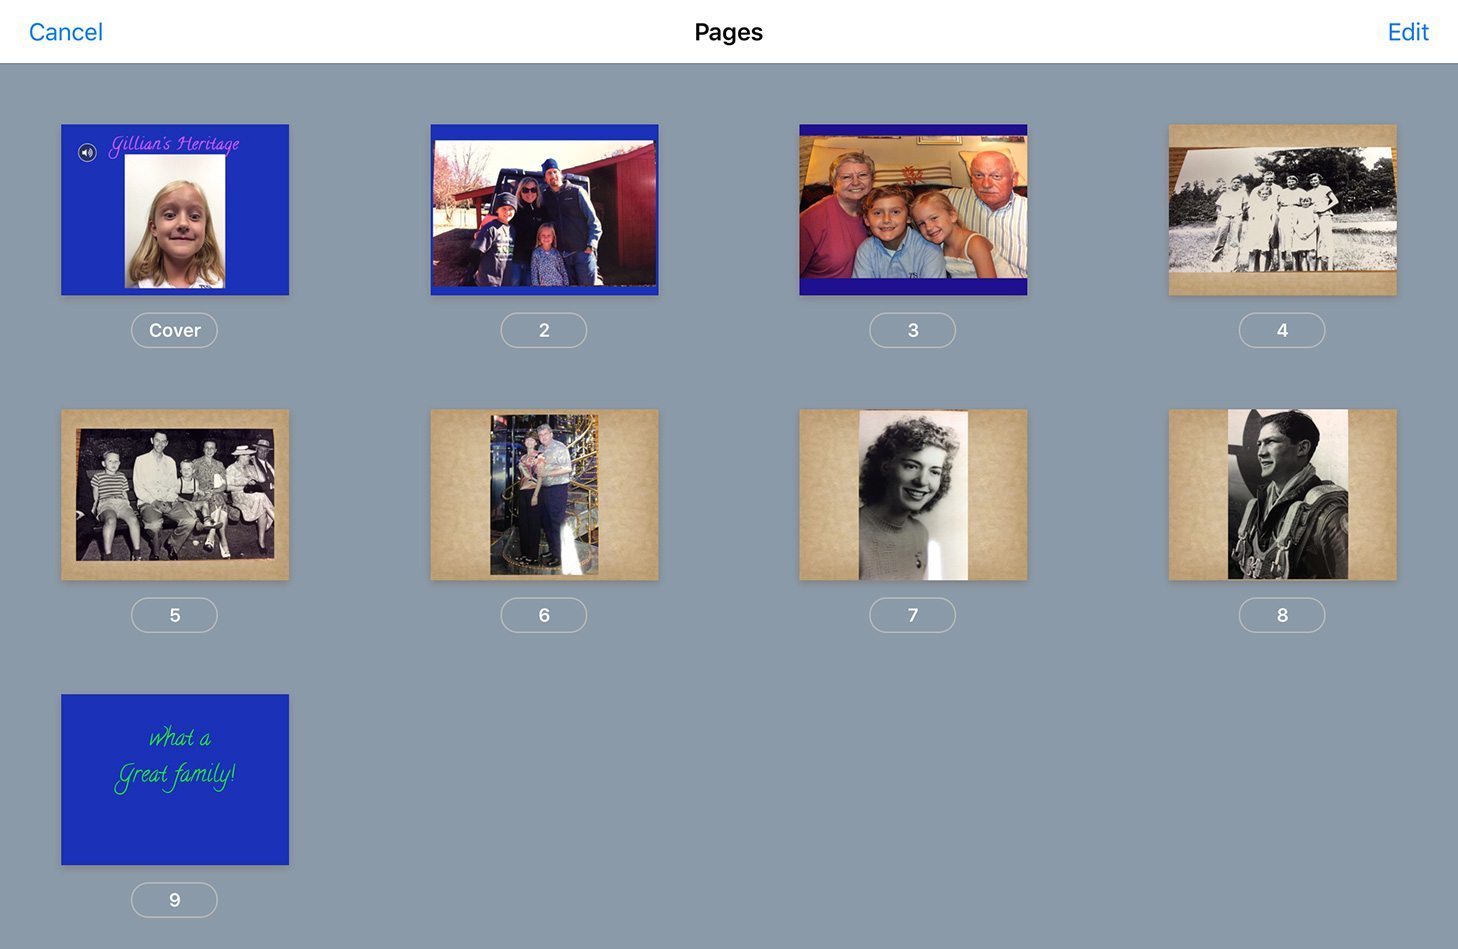
As we moved through each page, the students studied their scripts to insert the pictures in the correct order.
Taking the photos and inserting them into the book was quite a bit to do for one 40 minute lab. In fact, we probably spent about an hour on all of these tasks. I was really proud of the students for working diligently and accomplishing as much as they did for the first session!
Sprucing up the book
In the second session, the goal was to get the book looking exactly the way the children wanted it for sharing with grandparents.
First, we needed to do something to spruce up the front cover. We had decided that the children would take a selfie. When I told the students what they would be doing, they were thrilled. After all, who can resist taking a selfie?! Again, we talked about taking a good photo – watching for objects “growing” out of their heads!
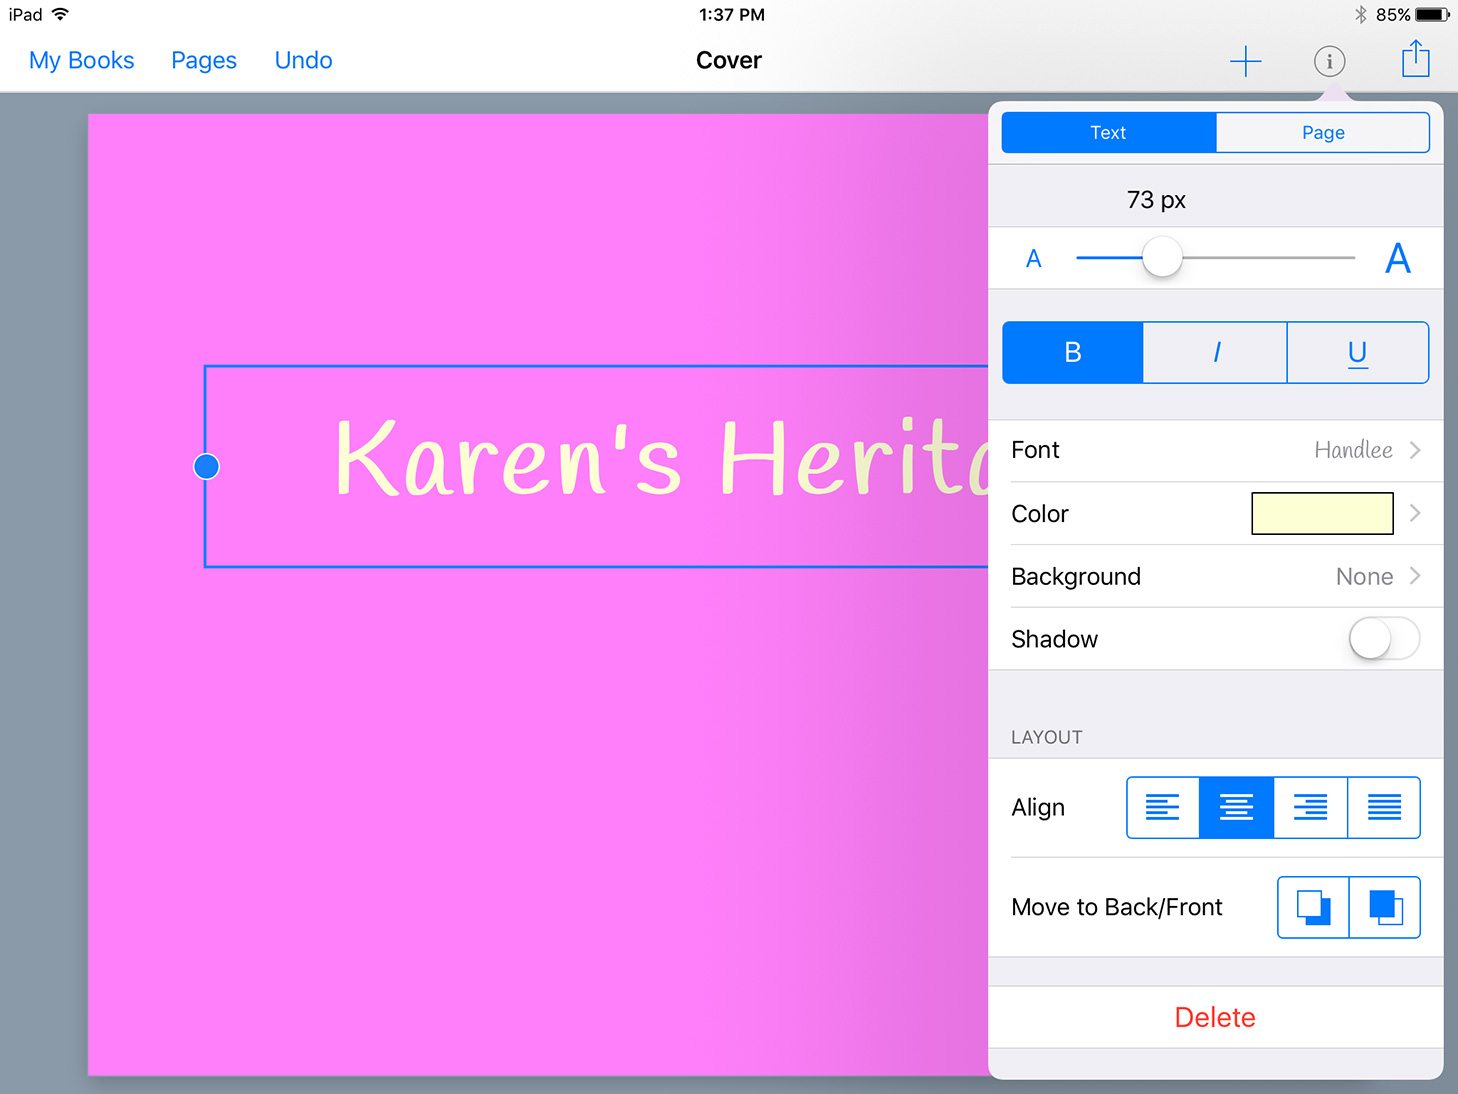
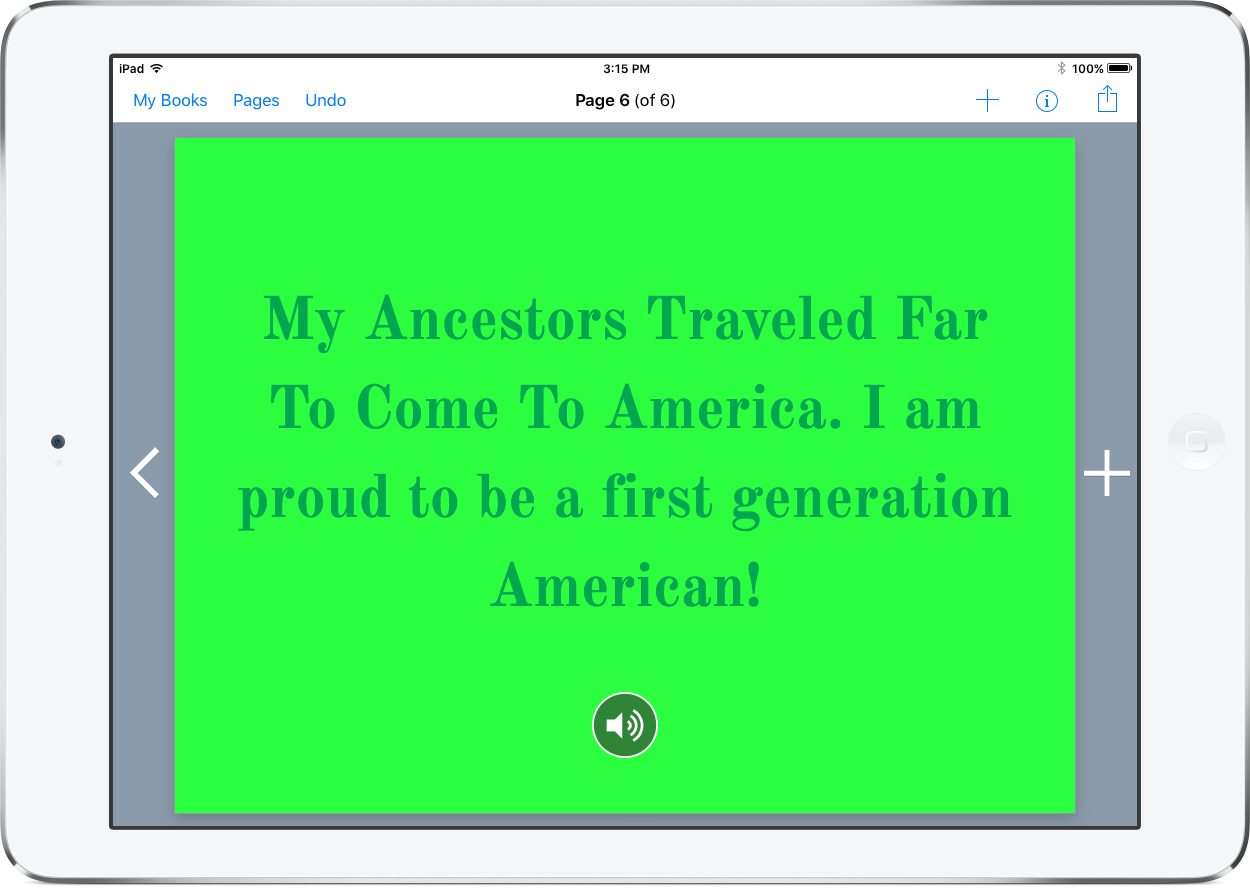
Then, starting with the cover, we discussed how to increase the font size, change the color and font style, and center the text. The selfie photo was inserted. Background color was added which sometimes meant changing the font color again. The students worked through each page; some added color while others preferred leaving a white background.
Once everyone reached the final photo page, we added one additional page – the conclusion. Some of the children had already written a special ending. For those who hadn’t, we brainstormed what they could say – for example: I’m proud of my family. My family is special. I love my family.
One last check involved tapping on ‘Pages’ while in the app to see if there were any extra blank pages in the book.
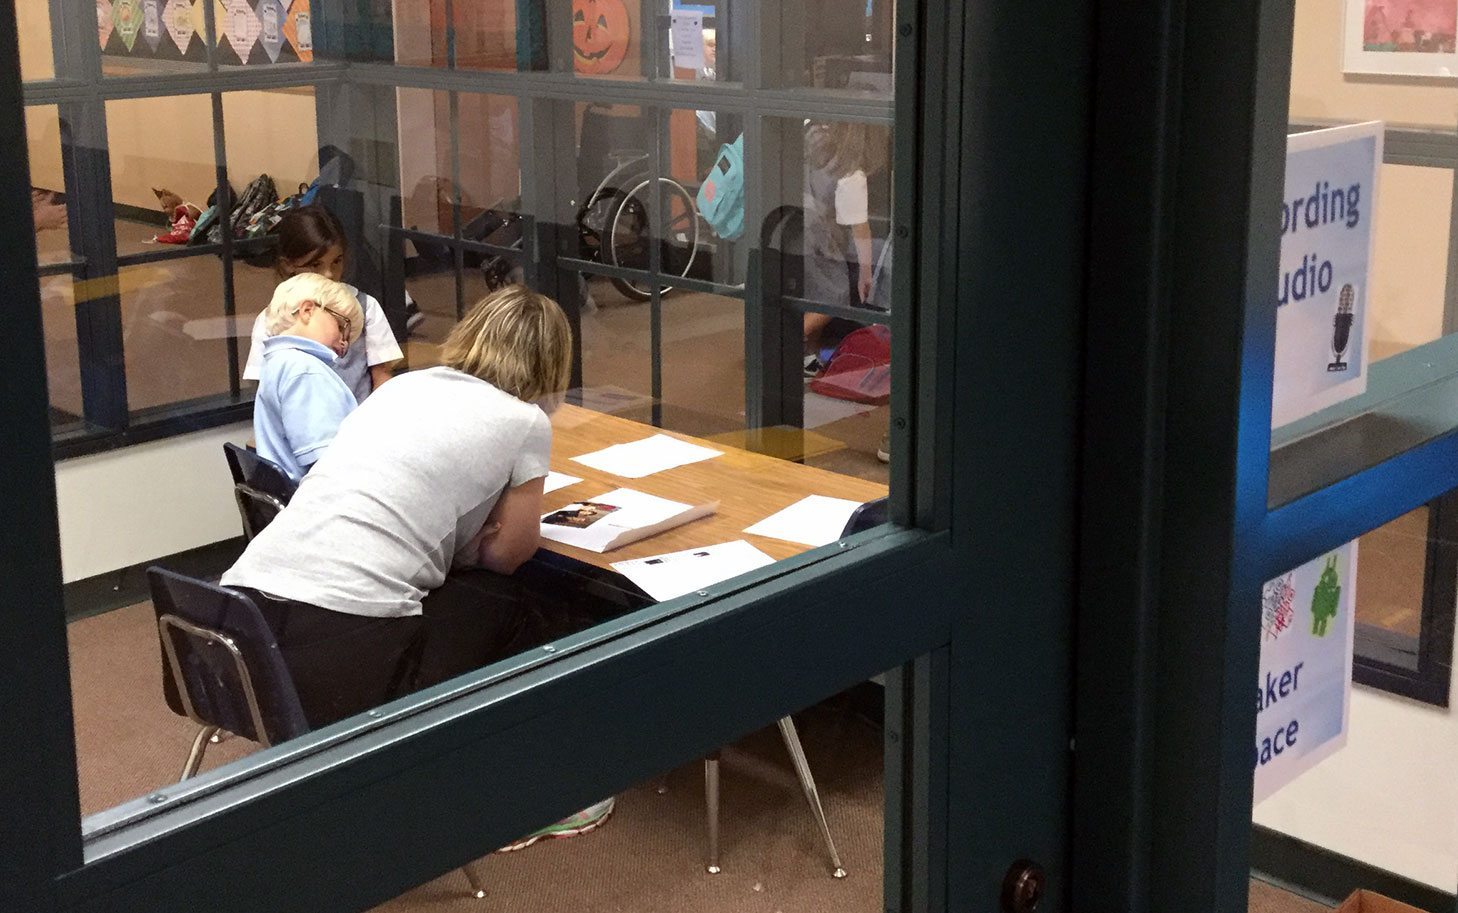
The next step was recording. We had several parent volunteers who, along with our second grade teaching assistant, were a tremendous help in getting 66 students recorded. When you are doing a project this large with several pages in each book and narration that often includes unfamiliar pronunciations, adult helpers are truly a lifesaver!
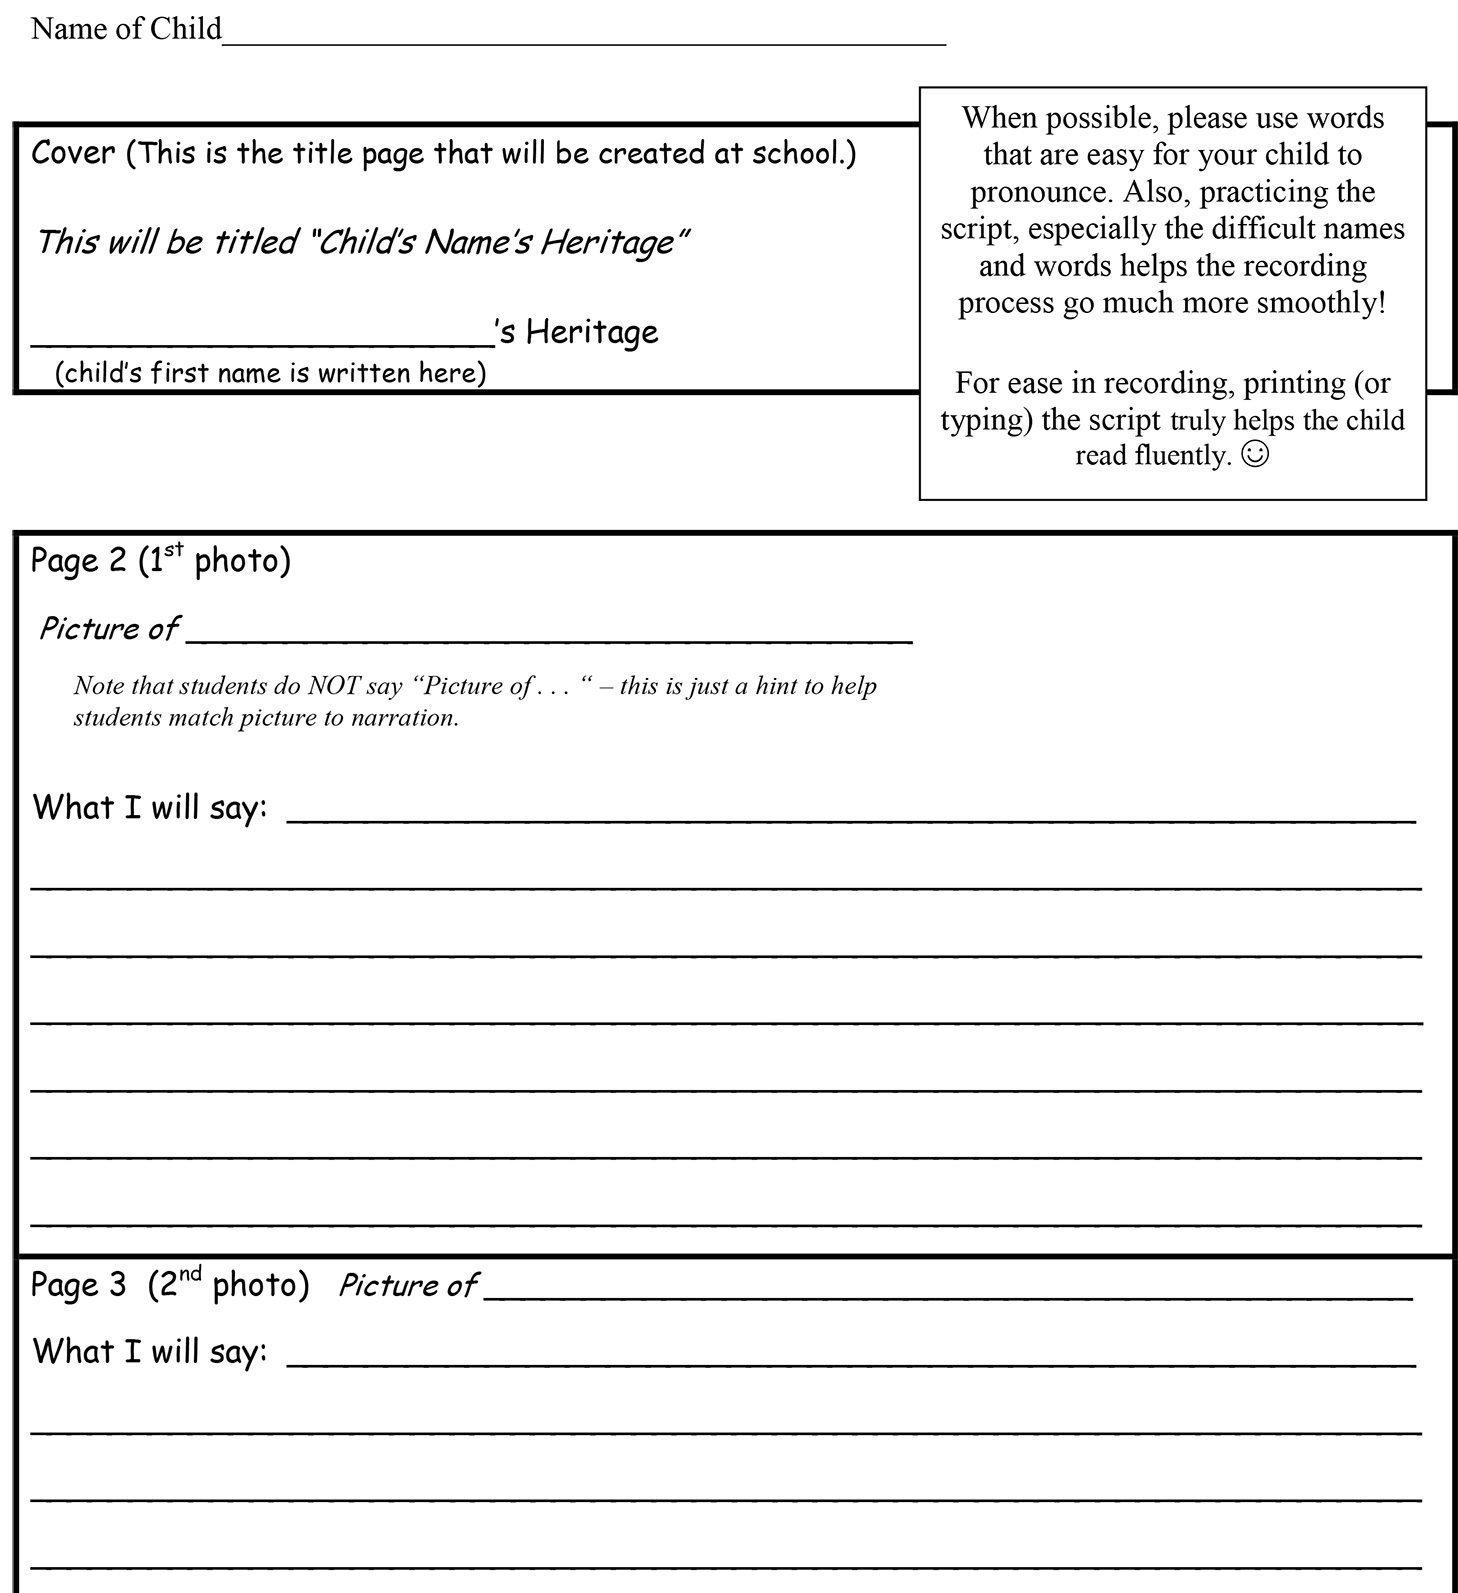
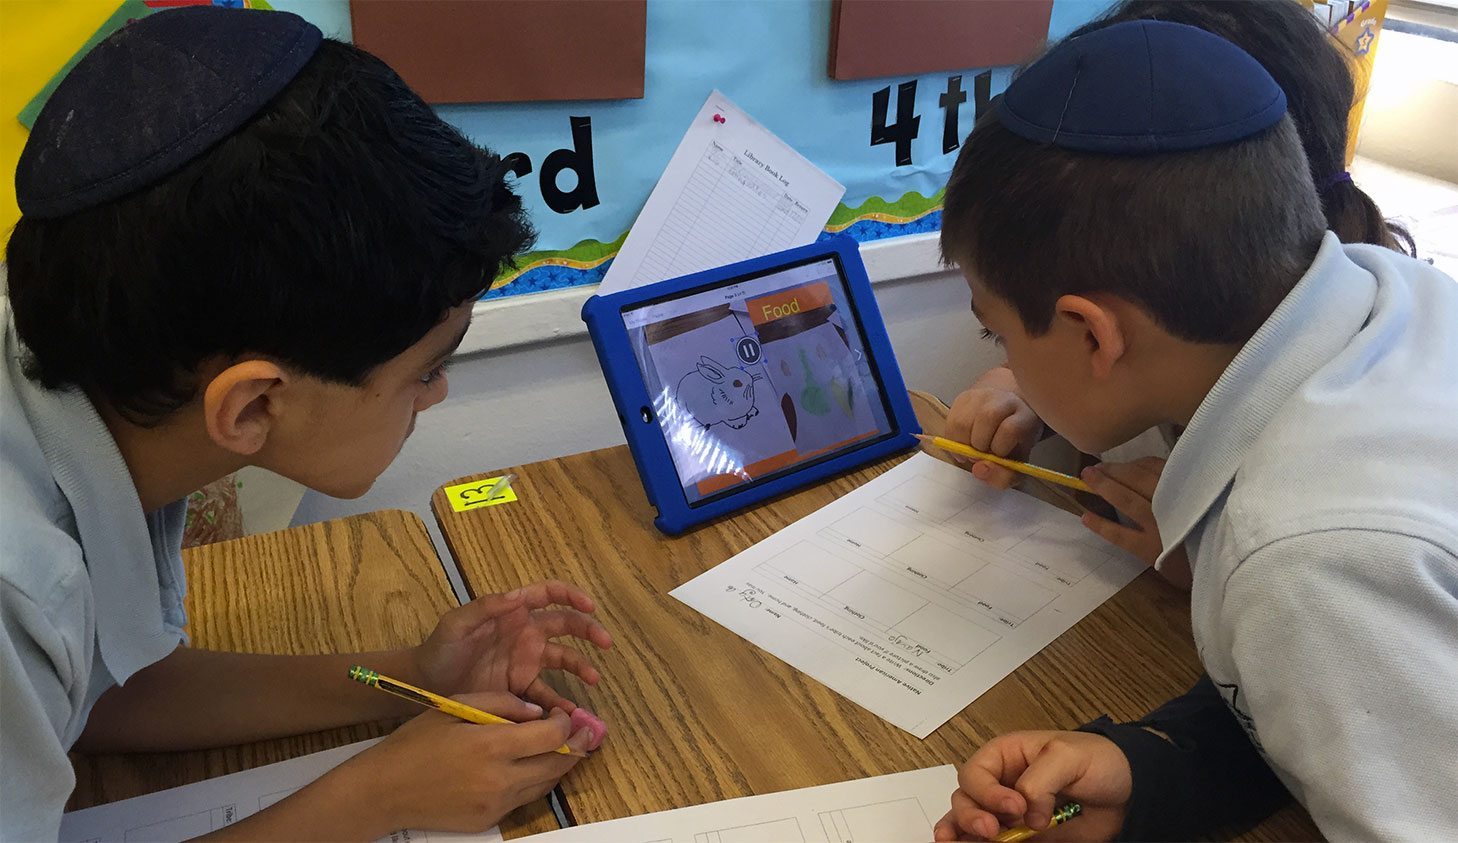
We also used a storyboard template (below) to help the recording run smoothly. Click on the image to download it as a PDF for your own projects, if you wish.
Once all children had been recorded, I saved each book to Google Drive so that they could be linked on my website and shared with our families. I’ve written a guide to sharing Book Creator creations on my blog.
In addition, the books were exported as videos. These were added to our FTP server and linked as well. This gives families another option for viewing.
The finished product
The students had a bit more work to do before sharing on Grandparents’ Day. I asked the students to listen to their book one more time; just to make sure they were happy with it.
I wanted everyone to learn how to export as an ePub and a video. That way we would have their books saved in iBooks as well as a video in the photos app on the iPad that they would be using on that special day. On Grandparents’ Day, the students can choose how they want to share their project.
I couldn’t wait to see the faces of our visitors on Grandparents’ Day as they listened to the children’s sweet voices talking about their family’s heritage.
Book Creator was the perfect fit for this project as it made the process SO much easier than anything we’ve used in the past. The app is very powerful yet extremely intuitive so even the youngest child can easily figure out what to do. What had been a tedious project has now become child-centered as each student created their own special book! We will most definitely use Book Creator each year for the Heritage project.
Sample projects
Madeline’s ePub book (4.9MB) saved in Google Drive. Click on the link while on an iOS device. Choose Download > Open in iBooks.
My tips for making a Book Creator project run smoothly
- For younger students, it helps to set up the books ahead of time by entering a title. I always include the first name of the student in the title and rarely fill out the author’s name. That way, when books are uploaded to Google Drive or Dropbox, you know exactly who they are from. Had we done this with each class in the limited time that I have them, we wouldn’t have been able to accomplish as much as we did.
- Provide plenty of time for formatting the pages (color, font, etc). Because of a tight schedule, I felt like I didn’t offer enough time for this.
- Always review student work. Look for double recordings as students often forget to delete one they didn’t like. If you save as a video, you’ll hear both narrations play! Also, check for extra pages. I had one student who somehow ended up with about 30 extra pages!
Our future plans for using Book Creator
As you can most likely tell, I am a huge supporter of Book Creator. We have used it numerous times over the years. Here are a couple samples:
 Amazing Alliterations by Mrs. Gramentine’s Third Graders (students illustrated an alliteration for a letter of the alphabet).
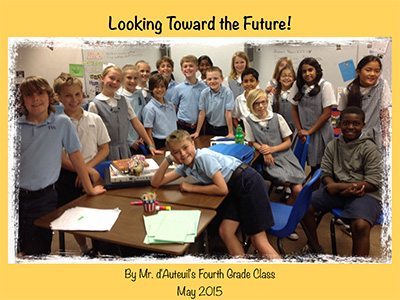
- Our Future Plans by Mr. d’Auteuil’s Fourth Graders (students illustrated what they plan to be when they grow up).
We have lots of plans for using Book Creator this year. First graders drawing predictions as I read a story then recording their idea; fourth graders adding stop motion video as they create Lego structures for an alphabet book; third graders building a memory book of their year…
Truly, the possibilities are endless!
Karen Arrington is the Lower School Digital Learning Specialist at Trinity Valley School in Fort Worth, Texas.
After being in the classroom for 25 years (teaching pre-K through fourth grades), she moved to the technology position and has spent the past 8 years working with K-4 students and their teachers.
Related posts
-
 25 October, 2013
 -
 20 January, 2019
 -
 9 December, 2014
 -
 10 February, 2015
 -
 30 September, 2013
 -
 23 September, 2015
 -
 17 February, 2016
 -
 20 September, 2013