Creating resources for your classroom? Here’s some ideas to give them an edge and make them more engaging.
As an art teacher I obviously have a very keen eye for design – I just like things to look nice and I make no apology for that. True, it may sound very superficial. However, design and aesthetics are important – no matter what line of work you are in. Even more so if you are dealing with the younger generation.
When it comes to the resources that I use with my students I want them to have nice looking things to support their learning experience. It might sound really picky but I just like to know that everything matches and that there is a consistent image throughout the support documents provided for the students, staff and parents.
Although it may sound like a waste of time, creating your own set of resources gives you the control over the content provided (sometimes the external providers/exam board publications etc. just don’t cut it for your students).
It also has the benefit of giving you the opportunity to make the ‘brand’ of your school, department or even just you and your classroom stand out and engage the kids in what they are doing… after all, today’s students are all about branding – they love stuff that’s considered and created for them. Let’s face it – we probably all do really.
I have always battled with the usual design programmes on my desktop computer to painfully line text boxes up, embed images and try to make booklets and assignment briefs that fit with my vision for my ‘brand’ of classroom resources. To be honest, I probably spent too long on the creative ‘nice bits’ – most staff would have given up long before me!
It is important to me though, all part of my whole classroom experience. I want the students to buy into the brand and know what to expect when they came to my lessons. After starting to use Book Creator – it was a true revelation. So easy to use and instantly cut the time used to prepare my resources to a far more manageable amount.
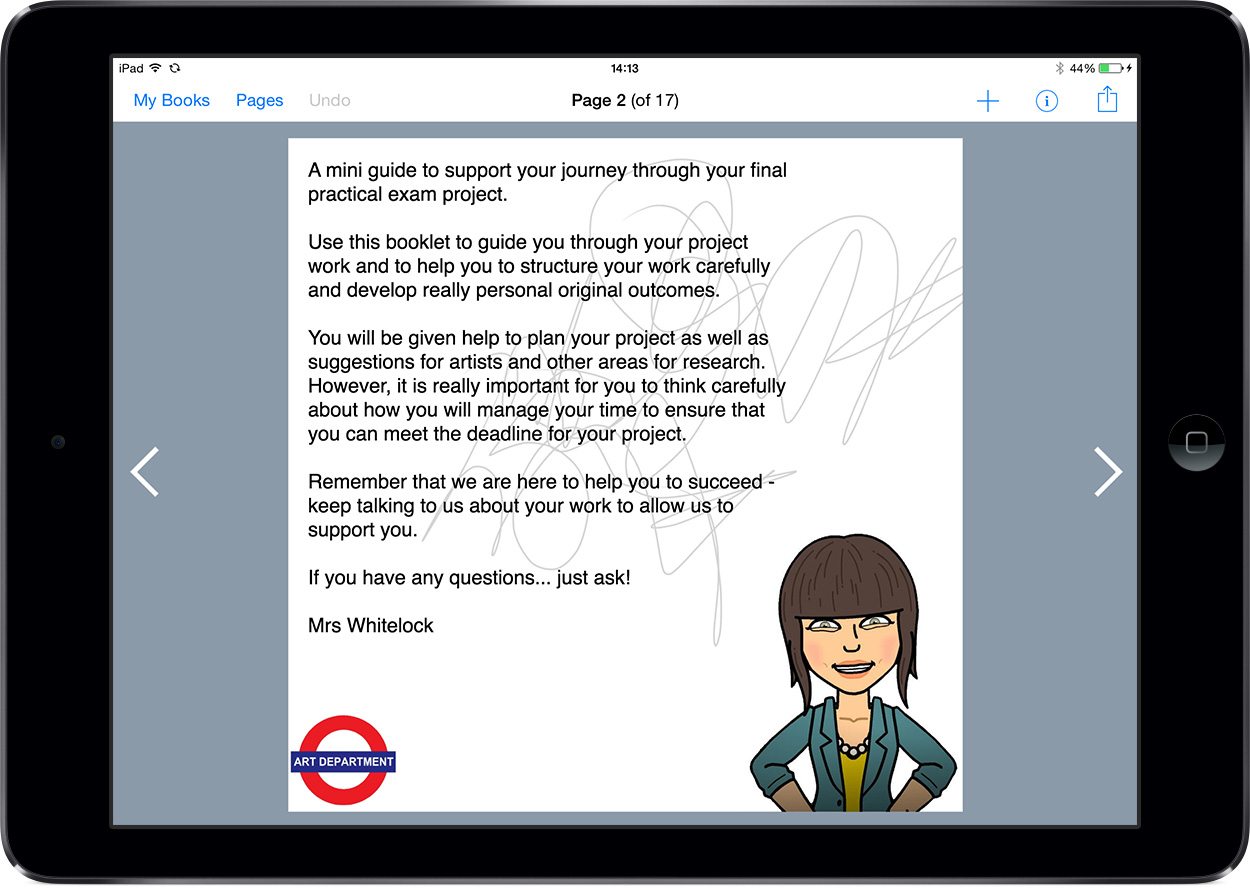
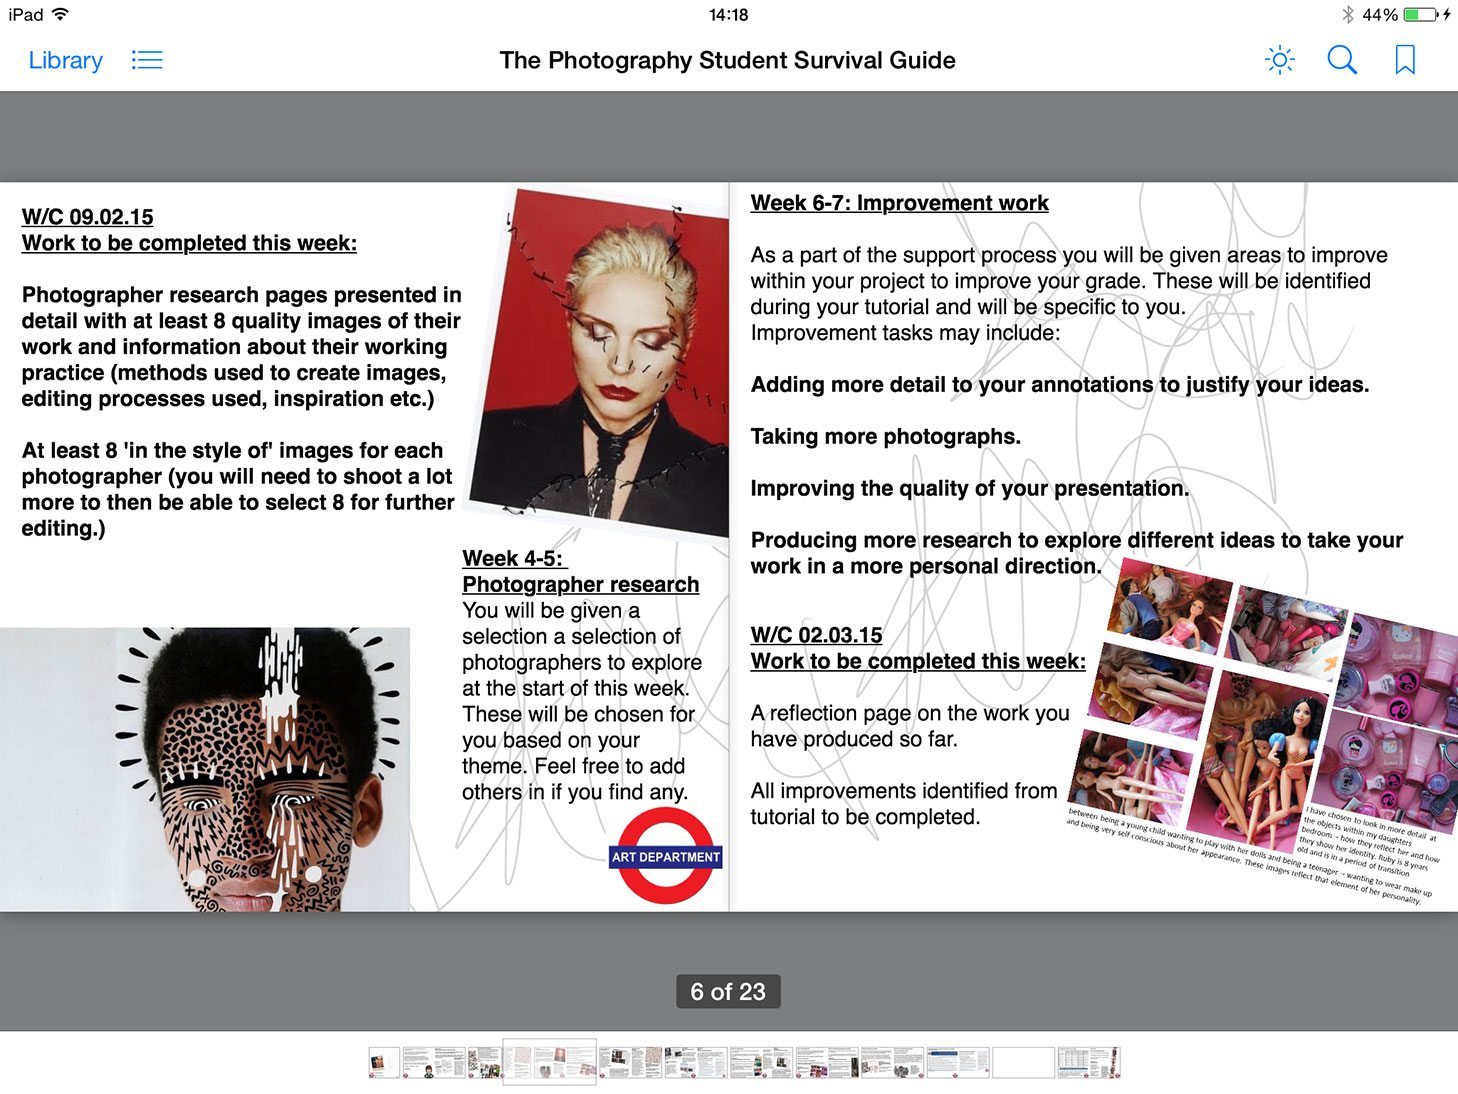
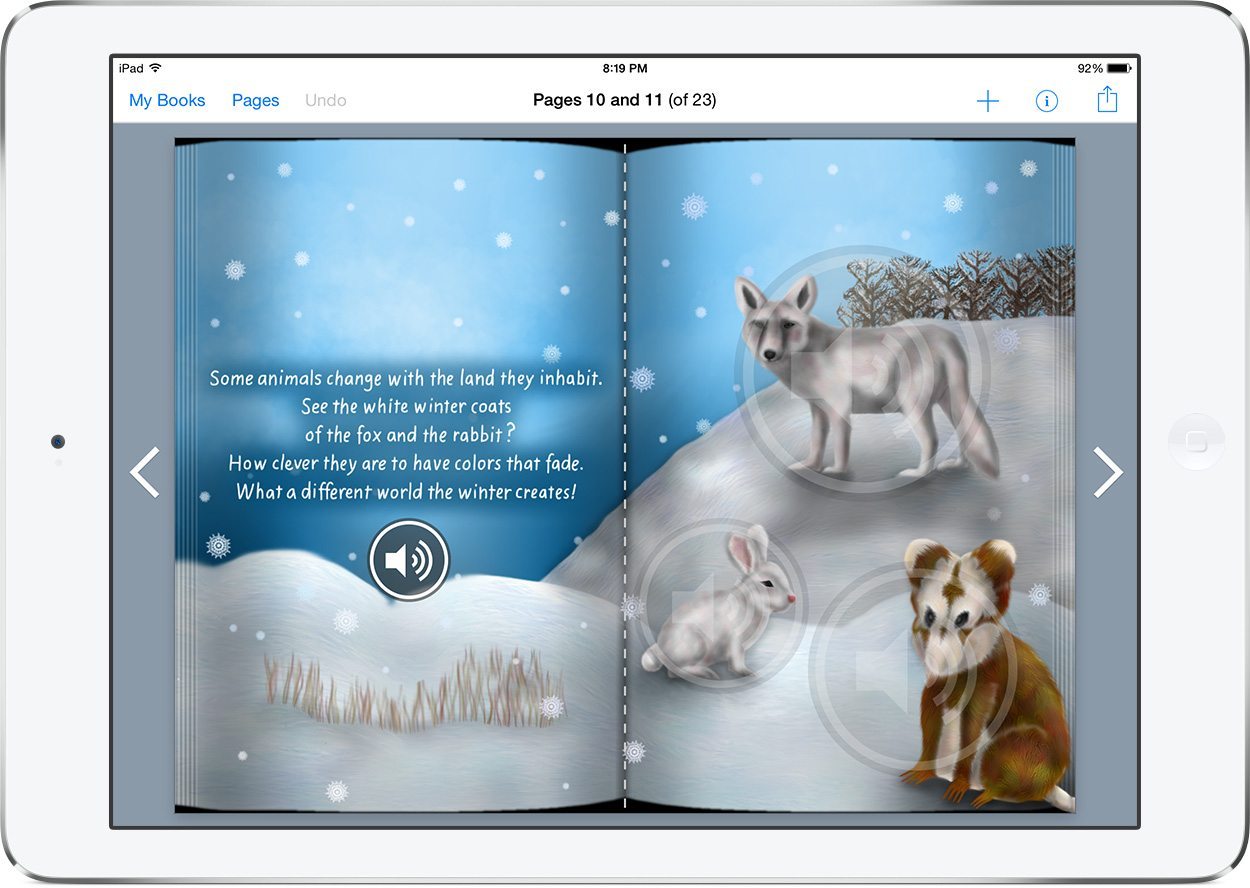
Using the JPEGs and images from my camera (often images of the students own work as visual prompts to support the text) I began to create a new set of branded resources.
It’s the simple things like ensuring there is a design for the page (in my case I favour a little arty grey scribble – created in my ArtStudio app and imported into every page) – it just helps to create a more coherent outcome.
My top tips for a successful book
- Think about your image. What will be your key colour for the book? Make sure that it doesn’t over shadow the content. But make sure that there is a consistent accent of this colour on every page.
- Think about the size of the content on your pages. Try not to make things too small – this is particularly important if you are planning on asking students/parents to read the book on a smartphone.
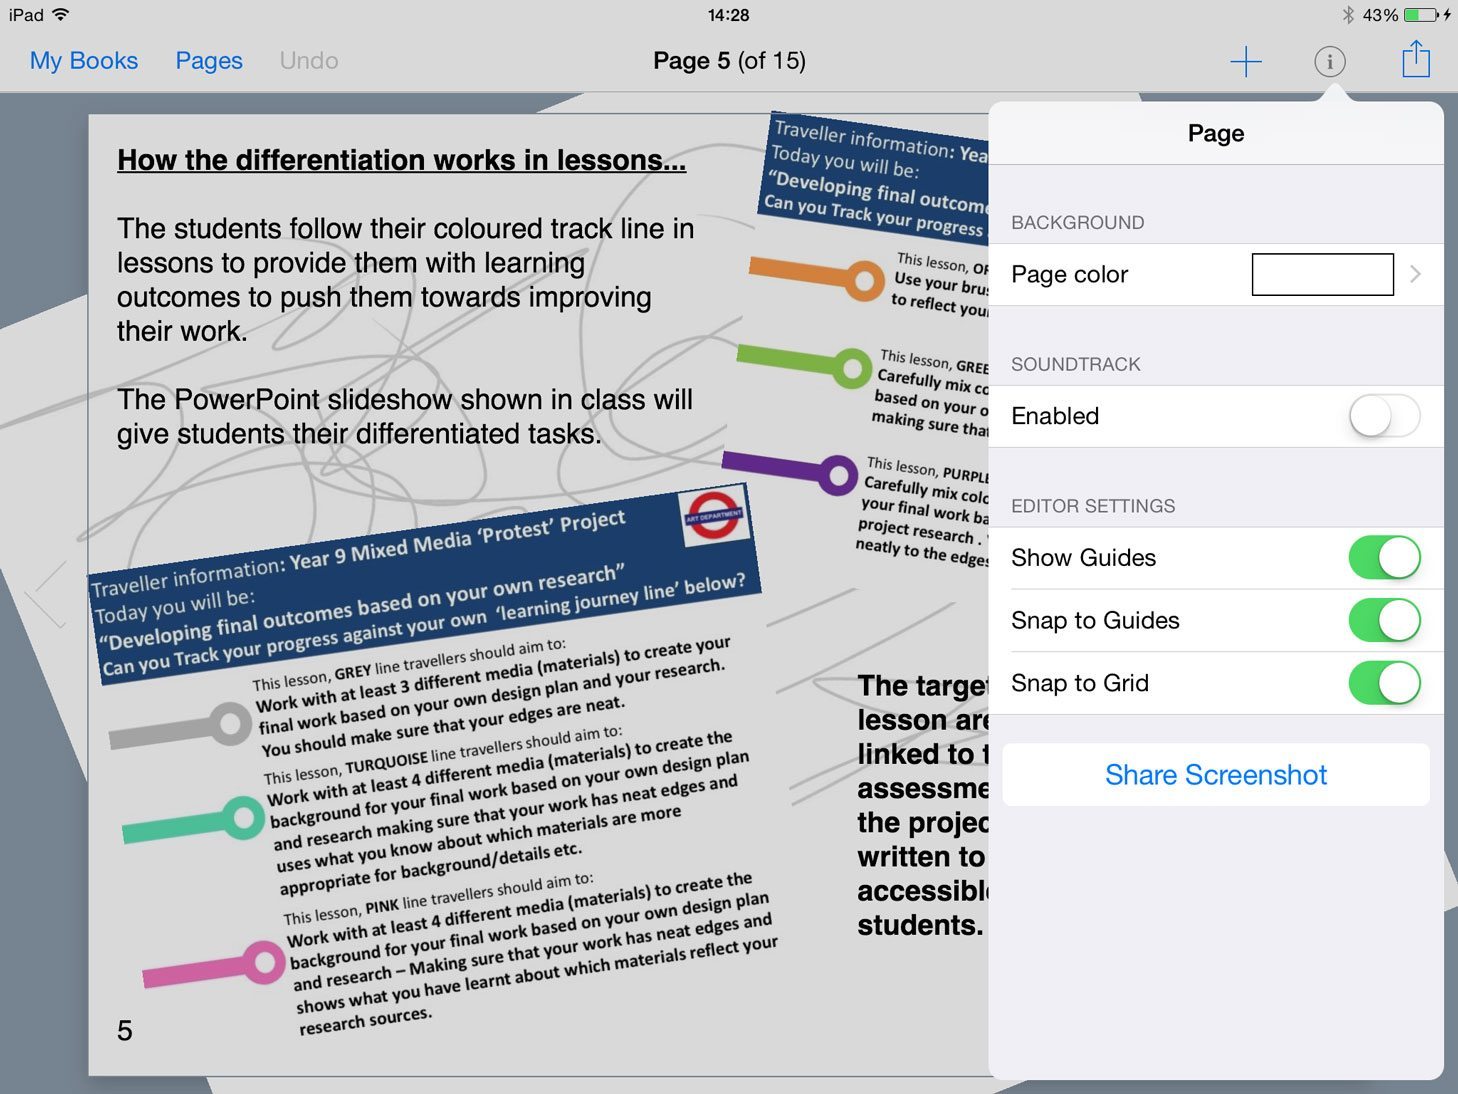
- Make sure that you number the pages. This will save time and avoid confusion when you need to set tasks quickly or refer to particular sections of the book in class.
- Think about how you ‘brand’ your book. Just as it is important to create a consistent look for the pages within each book, if you are planning to create a collection of resources to compliment your existing classroom display or to fit with a certain theme, make sure that they fit. It honestly makes the difference to how the students engage with the resources that you produce.
- Make sure that you save and publish the books in a range of formats. This allows easy distribution to meet the needs of everyone. PDF files are good for use in school and for printing but can be a bit big for emailing as attachments. To overcome this, a cloud drive (like Dropbox) is a good idea to save your work from home to be able to access in school.
- Don’t make it too complicated! Try to keep page layouts simple, plan each page roughly and paste all of your backgrounds in before building in your other content… it saves LOADS of time this way!
The advantage of using Book Creator as a method of creating resources is not only the ease of use that comes with the simple and user-friendly design functions, it is the ability to make the finished resources more accessible.
Having the ability to publish the completed book as a real iBook has amazing benefits for teachers. The obvious one being the saving of paper, but also providing students with a method of supporting their learning in a way that they are more comfortable with.
This is in no way dumbing down the content of the text or learning experience – just making it more relevant for the students. For example, my GCSE students receive an email with the coursework support iBook attached for them to open on their smartphone or tablet (not in school however – this is to support their home learning.)
They also have access to a PDF version of the same file within the school network and I hand out paper copies on parents evening.
This system works really well and has allowed everyone to feel informed and understanding of what is required during the course. Obviously quite a few parents prefer things virtually – in these cases it is simple enough to provide the iBook via an email as well.
The response from the students and parents has been so positive. In the short amount of time since using Book Creator to create the resources it has truly made the whole process of exam support in particular so much easier and actually enjoyable too – making resources doesn’t really feel like work!
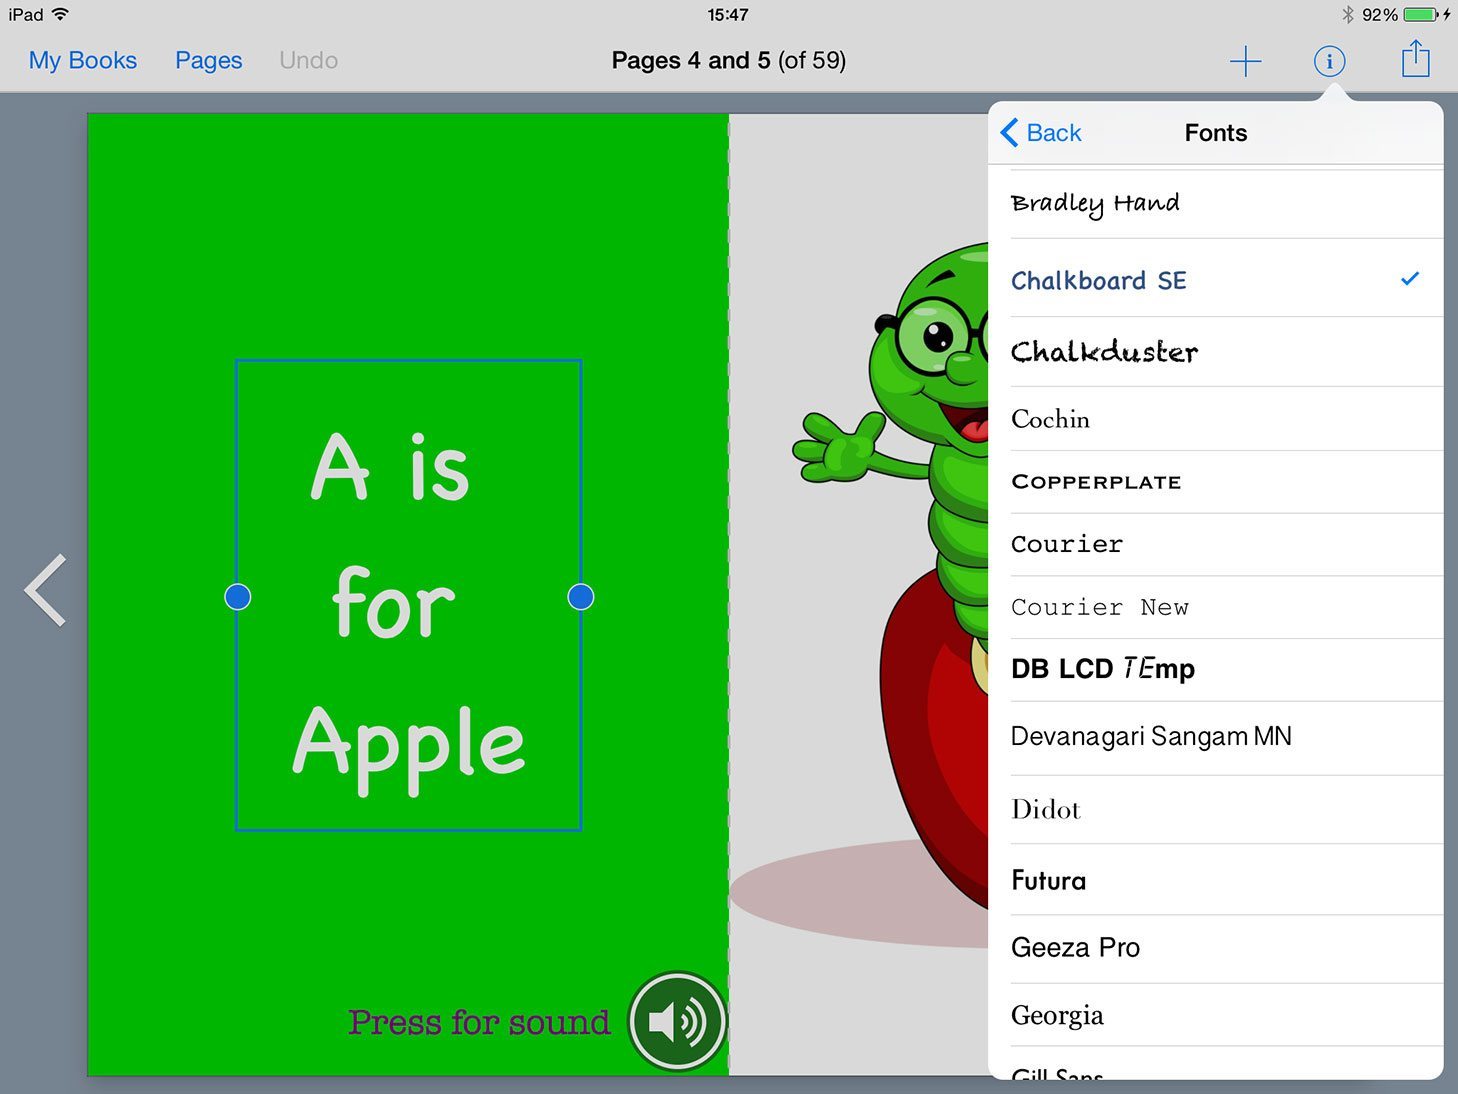
@mrsartytextiles @BookCreatorApp love it thanks for sharing. I would add too that font choice & its consistency are just as important
— Mark Anderson (@ICTEvangelist) September 2, 2015
Gemma Whitelock is Head of Art at Sir Robert Pattinson Academy in Lincolnshire, UK.
Gemma loves using new technology to develop more student friendly resources. She spent a lot of time during the completion of her MA in Education researching how students want to learn and how they prefer to be supported.
Related posts
-
 14 December, 2015
 -
 23 June, 2014
 -
 6 June, 2019
 -
 9 May, 2016
 -
 13 August, 2018
 -
 20 November, 2014
 -
 17 December, 2015
 -
 2 April, 2015