

This is an in-depth look at how to make an ambitious project come to life in Book Creator.
 Co-author: Shelly Narayan. Shelly is an elementary Special Education Teacher in the Home School Program (HSP) at FH Miller Jr PS. She is an experienced teacher of 11 years who has spent the last two years working in our HSP class.
Students in our school are extremely comfortable with Book Creator and use it frequently. We have created and published a wide range of written pieces including fairy tales, comic books, procedural writing, informational texts, humorous stories and commercials. We chose Book Creator because it allows students to create, collaborate and include multimedia content (e.g., videos, pictures, music & sound effects). Each Book Creator project can be tailored to the specific need of the students and/or assignments.
Our latest project
The students featured in this project are part of our Home School Program (HSP - for students identified with an exceptionality and/or requiring significant support in literacy and numeracy). The students are in Grades 3-6, but are working below grade level, ranging from kindergarten to Grade 5 level.
They recently created an epic adventure story with interactive content. You might remember these were a popular type of book in the ‘80s. The stories are written from the 2nd person point of view which puts the reader in control of the story. We wanted to take it a step further and include green screen videos and sound effects to make the story come to life! It also shows the potential of Book Creator to redefine creative writing for students.
The process
Students came for a 40-minute library period once a week co-taught with Shelly Narayan, our HSP teacher. She also had them write for short periods of time in their HSP class.
"We got to say it, film it, green screen and have costumes and props…..awesome!."Grade 6 studentThe students all find writing challenging and it takes them a significantly longer time than their age peers. There was a mix of hand-written stories and Google Docs to allow collaborative writing and voice typing. We had students work in centres as the project progressed (e.g., writing, using the green screen, image/sound effect searching & superimposing pictures).
We filmed over a period of two weeks but only 3 days per week. We typically filmed for about 1-1.5 hours. We worked with small groups during that time. Through this project, they were given an opportunity to do things differently in a way that met their learning needs. This project was multidisciplinary and encompassed drama, visual arts, literacy, media and music.
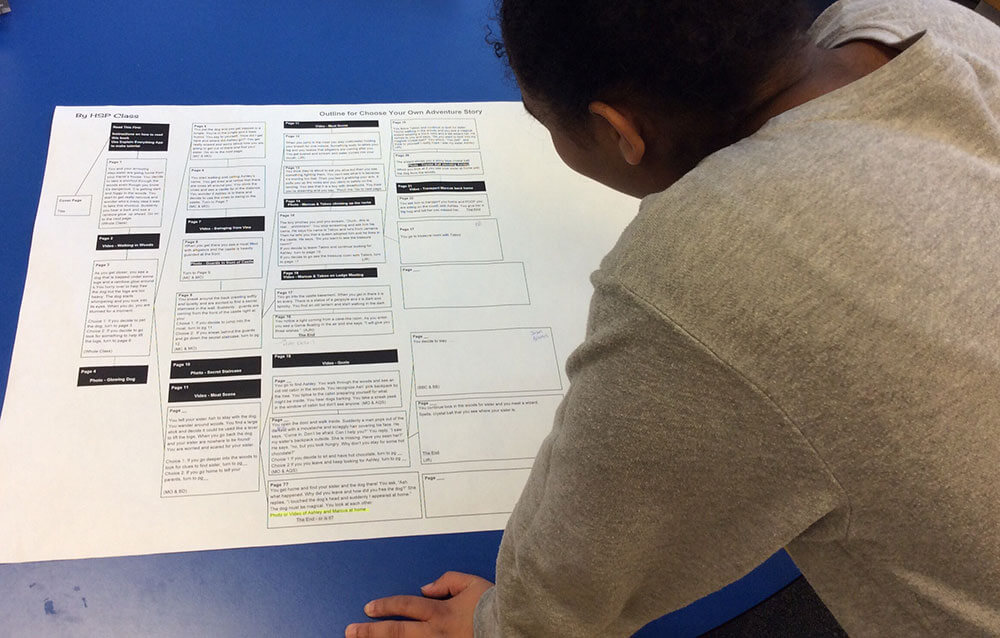
We created a graphic organizer using Google Draw that was enlarged to 24x36” so that students could see the story outline and follow the different versions of the story, depending on the choice the reader makes. This was extremely beneficial in terms of choosing where to add interactive content and how to organize the pages and hyperlinks in the Book Creator app.
Tip: You can print 24x36” black and white engineering prints at a print shop for less than $4.00.
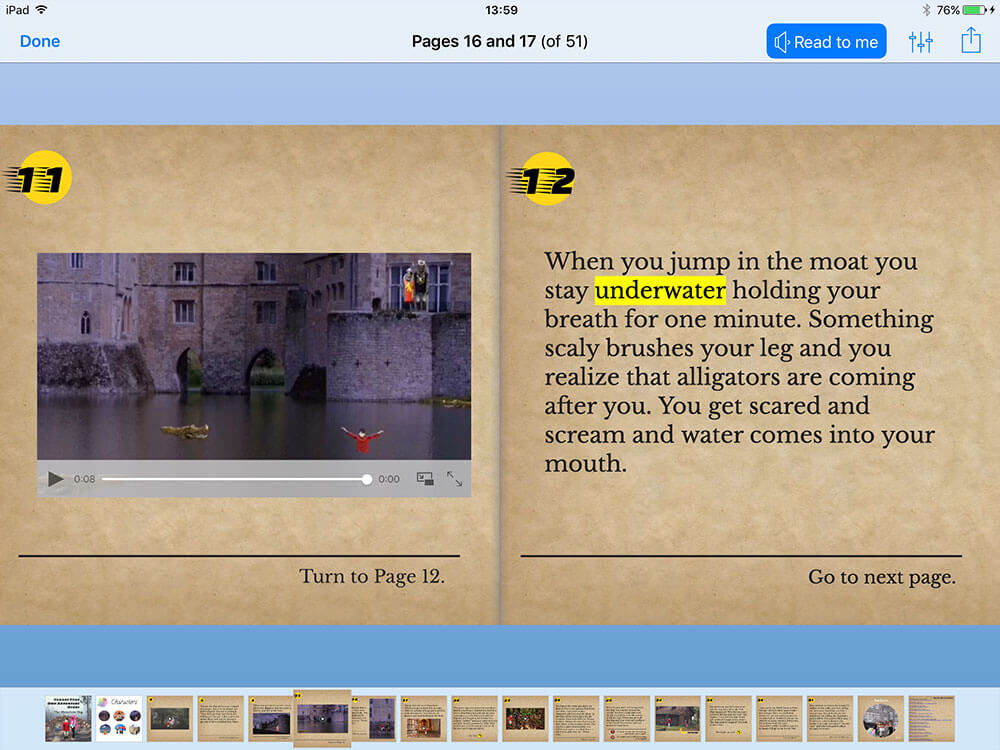
Furthermore, Book Creator has a new Read Mode feature that highlights the text as it reads it back to students. This is an essential feature for editing and great for auditory learners. It also plays the media inserted in the story. We realized that this feature is also fantastic for young readers who wanted to enjoy the book independently.
Why Book Creator was a good fit
The ultimate learning goal for students is to be able to communicate effectively using a variety of media and engage readers with this interactive book. The technology became an integral part of this project. It wasn’t simply an add on. Not only does it allow for all students to participate, but they can use the built-in iPad features such as the microphone and/or the keyboard’s predictive text.
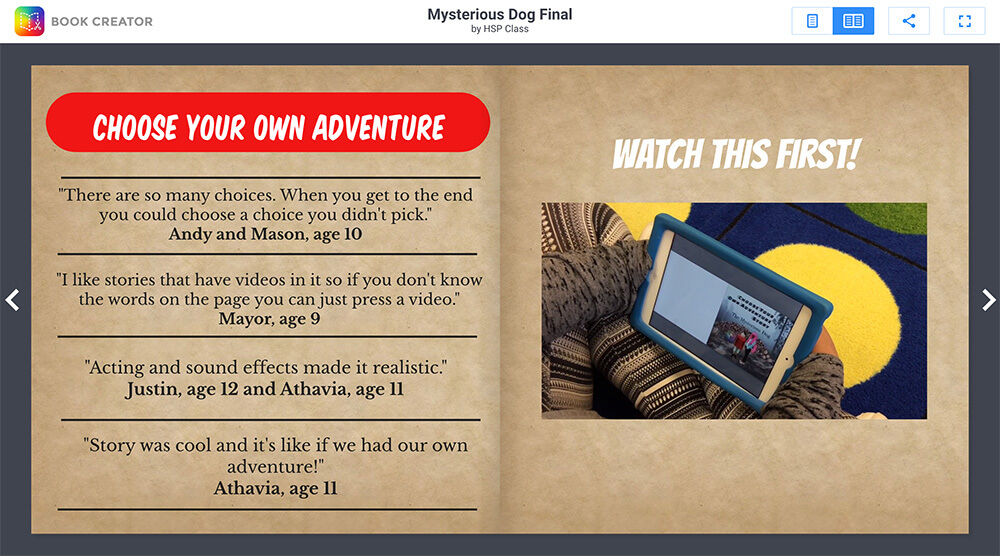
"I like stories that have videos in it so like if you don’t know the words on the page you can just press a video."Grade 4 student
The Book Creator app was what tied everything together making, it possible to integrate all the multimedia into one interactive ebook.
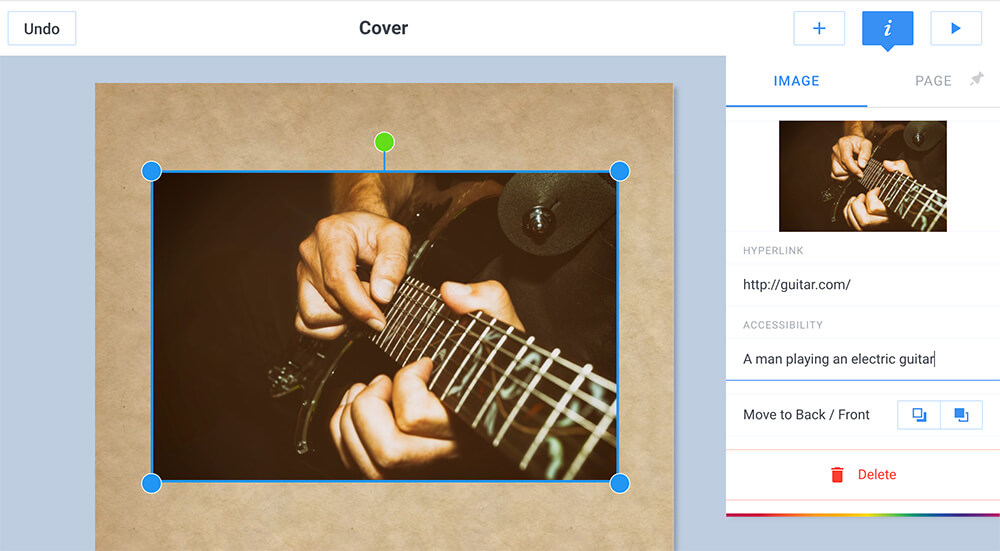
The other essential requirement was we wanted to be able to add links to different pages within the book. In a branching narrative book, the reader gets to decide how the story unfolds because different choices lead to different endings. Book Creator makes it easy to add hyperlinks.
Other apps we used
Skitch
We needed to link to different pages from an image, so the first thing we did was find an image of a 3D button and used the app Skitch to add number 1 and 2.
It is also critical to put a page number on each page of your story. We added some introductory pages (e.g., character pages) before the story, so the page numbers we used for hyperlinks were different than the page numbers we wrote in story. Remember to wait to the very end to do this step.


Green Screen
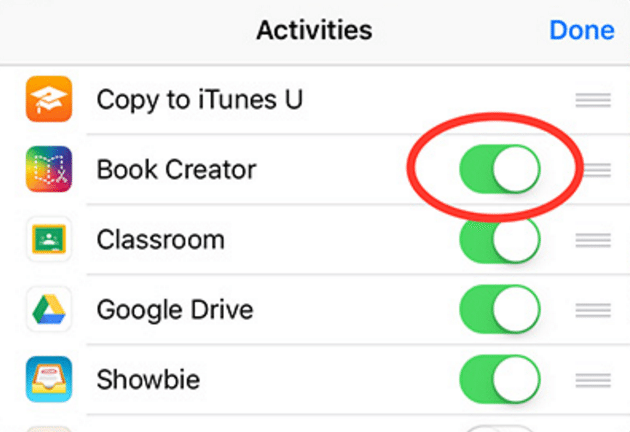
Green Screen by DoInk makes it easy to create the photos and videos. Students acted out scenes in front of a green screen. Videos or photos were then combined with the proper background and exported to the camera roll of the iPad to upload to Book Creator. We used Pixabay for most of our photos because they are free of copyrights under Creative Commons CCO and you do not need to give attribution.
Understanding copyright, licensing and attribution for photos and images
We find that our students love to have both a digital copy and print copy to look at in our library. In anticipation of this, it’s a good idea to create pictures of the video scenes to have later. With the Green Screen app, you can just toggle between saving it as a video or image. The quality is better this way rather than if you took a screenshot of a paused video.

iMovie
With some videos, we used iMovie to increase the volume of the student’s voice and/or add sound effects. When you are joining several video clips together, we found it easier to export from the green screen videos and then edit together in the iMovie app. Especially if you want to add some titles like we did.
LiveCollage
To accomplish visually intriguing pages, we often use several apps together ('App Smashing').
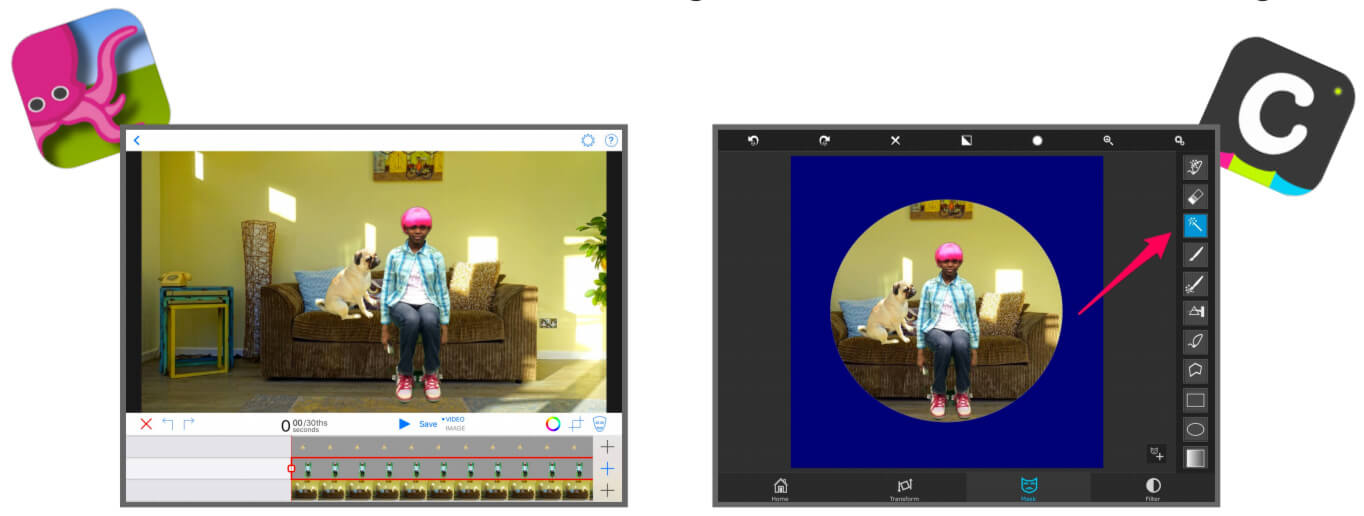
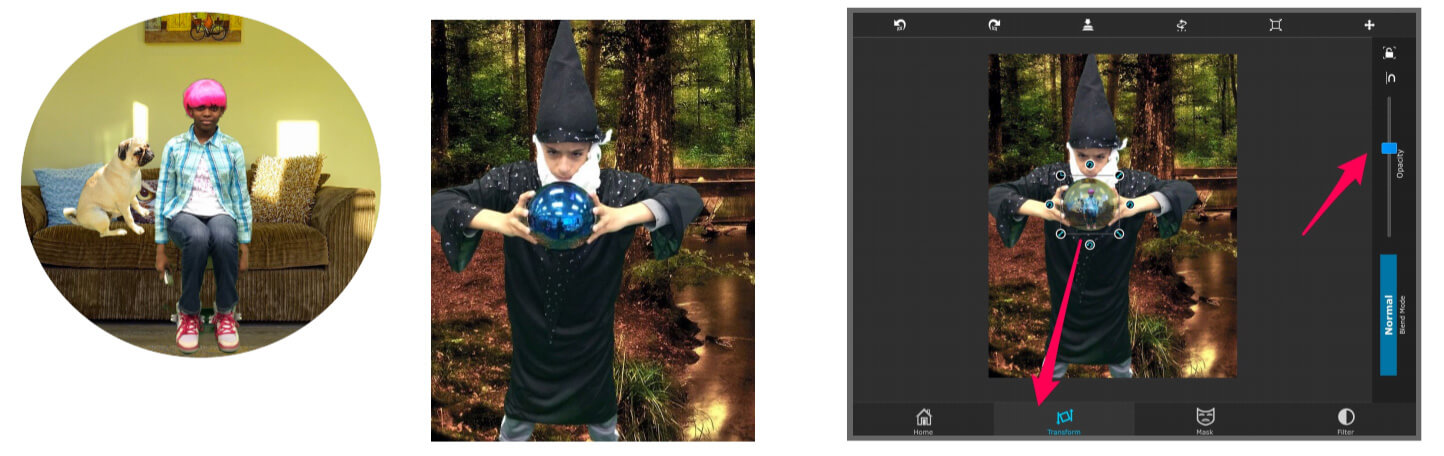
In the example below, we created the scene of Ashley at home in the living room. The bottom was the living room, the middle layer was the character Ashley and the top layer was the magical dog from the story. We saved it as an image. Then, we used the app LiveCollage to create a circle cutout of the image.
Superimpose
Next we used the app Superimpose. This app is extremely useful for our Book Creator and Green Screen projects because it allows you to remove the white background in one step with the magic wand.
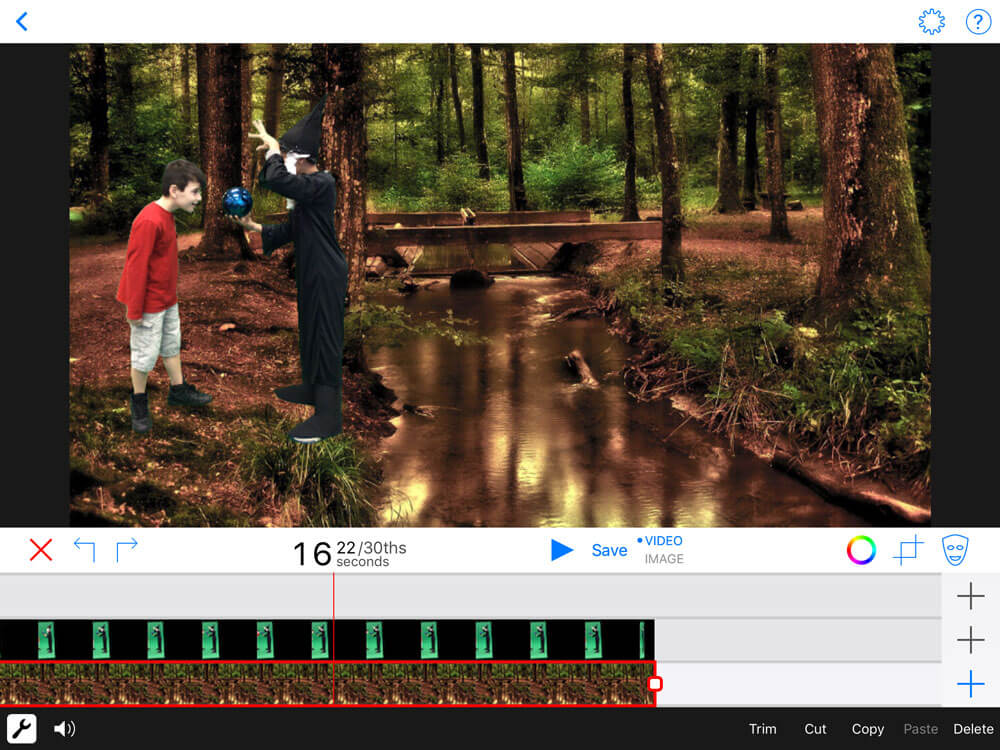
For the scene below, we wanted to have the wizard holding a crystal ball with the image of Ashley at home with the dog in the ball. To achieve this we first removed the white background from the circular image. Then we combined both images and used the transparency slider in Superimpose to blend the photo and make it look like the character was in the crystal ball.
Sound effects and soundtracks
We used a combination of SoundBible.com, Bensound and/or Creative Commons and iMovie sound effects.
Students downloaded music files on computers and uploaded into our Google Drive to access on iPad. Then you export directly into Book Creator. It’s only a few simple steps. You have the choice of making it the soundtrack to the whole page. This is what we did on page 3 of our story so that the reader would feel like they were there. Note, this soundtrack feature only works in iBooks and not in the new online reader. However, the sound effects (audio hotspots) will work.
We found sound effects a great way to make the book engaging and interactive. We used the option to make the audio hotspot invisible in iBooks on our Character page. Students recorded a short audio clip as their character instead of the traditional About the Author page.
Video tutorial
The students decided to create a video tutorial to explain how a branching narrative story works and to highlight all the interactive features in their book. This is found right at the start of the book.
Sharing the book with parents
Book Creator has a new online web reader. This is a game changer and makes sharing with all parents easy. Not all of our parents have iPads or iPhones. Until now, we had to export a book as a movie to share with them which doesn’t work for this kind of book. What is amazing is that even after the book is published online, any changes made in the Book Creator app are immediately reflected in the online version.
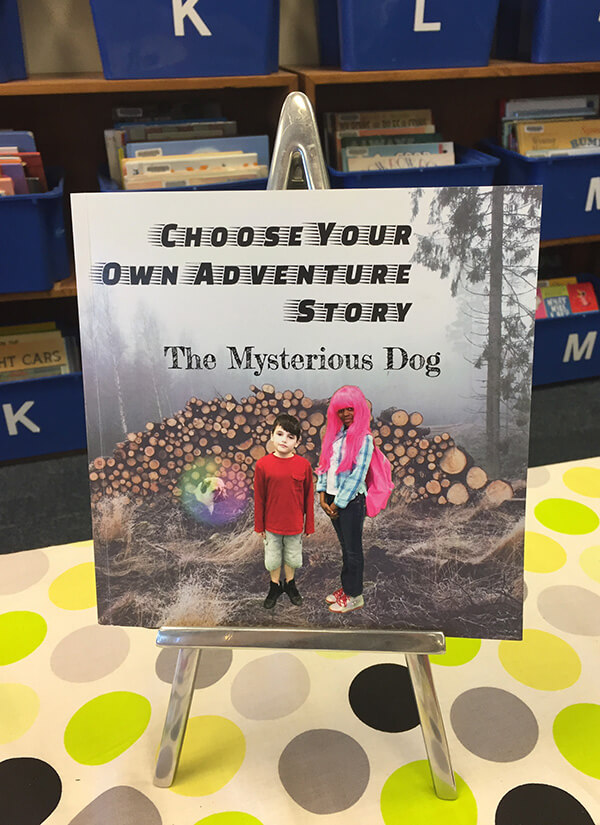
The book was launched as an interactive digital book and we printed a copy for our school library. You can read the digital version online with the link below.
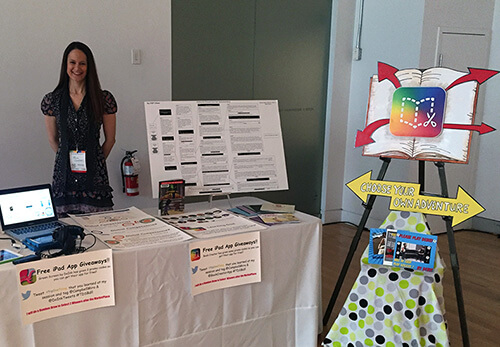
We also shared this project with over 1,200 attendees at the Toronto District School Board’s K-12 EdTech MarketPlace at the Unleashing Learning conference. If you want even more detail on this project (and other ways we've used Book Creator) you can view the slides or the doc.
What we learned
The most successful aspect of this writing project was student engagement. Within this HSP class there is a wide range of curriculum levels. Writing is a challenge for all of these students. This collaborative project not only addressed their individual learning styles but allowed them to have choice in how they expressed their ideas.
The project also required higher level thinking. Students had to consider their intended audience for the book. The story needs to be consistent with details from the introduction and where the story was left off by the other writer(s). Furthermore, it had to be true to the character. We have high expectations for all of our students and ensure they are all given the opportunity to be successful.
The students learned to collaborate and honour each other’s ideas and the diversity of perspectives. They were able to take on different roles in the group (e.g., leader, writer, giving feedback, creating interactive content, etc.).
In an interview after the story was complete, students reflected on the work and shared some ideas about working collaboratively on this book:
- “People can give you ideas and you can write them... other than you by yourself.” ~ Grade 5 Student
- “If you’re stuck on something and your partner knows he can do it for you. I used the microphone to write my story.” ~ Grade 3 Student
Ms. Narayan posed the question, “When you had a problem when you were writing together, how did you solve that?” It was evident from their answers that the project had an impact on their learning skills.
“We kind of mixed it together and made it one… something you both like.” ~ Grade 6 Student
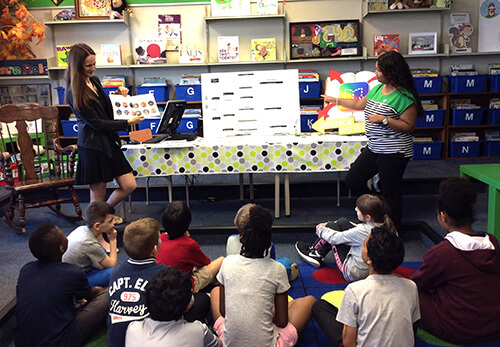
This project was a collaboration between the Library and the HSP program. Teacher partnership in the Library is invaluable. This cross curricular learning between different classrooms helps deepen their understanding. Students learn from observing how their teachers collaborate.
As teachers, we have the opportunity to learn from each other and we are able to see our students excel. At the end of the project, we reflected on not only the writing they had completed, but the different learning skills and global competencies they had to use.
Other tips...
- For larger writing projects, we think students should begin writing their stories in Google Docs. This allows the teacher to keep up to date on the student’s progress and give descriptive feedback directly in the document. Students complete revisions in Google Docs and then copy the final version into Book Creator.
- Use centres to break up different roles (e.g., writing, green screen, sound effects, image searching, etc.).
- Writing in pairs supported students as well as dividing the story up into short paragraphs to make writing more manageable for them to focus on one part at a time. At times, we typed for them so they could get their ideas down before forgetting them.
- Always take both photographs and videos of scenes in the story. Often students enjoy having a print copy.
- Leave linking pages until the last step. Remember to use the Read Mode option in Book Creator to see what the side-by-side page layout will look like.
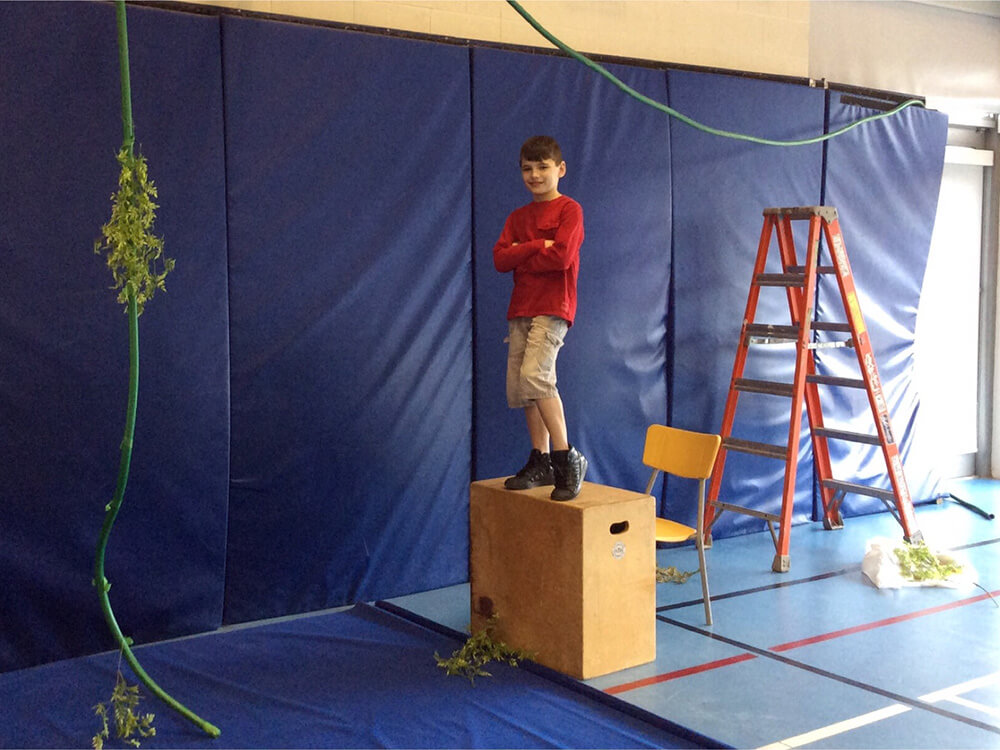
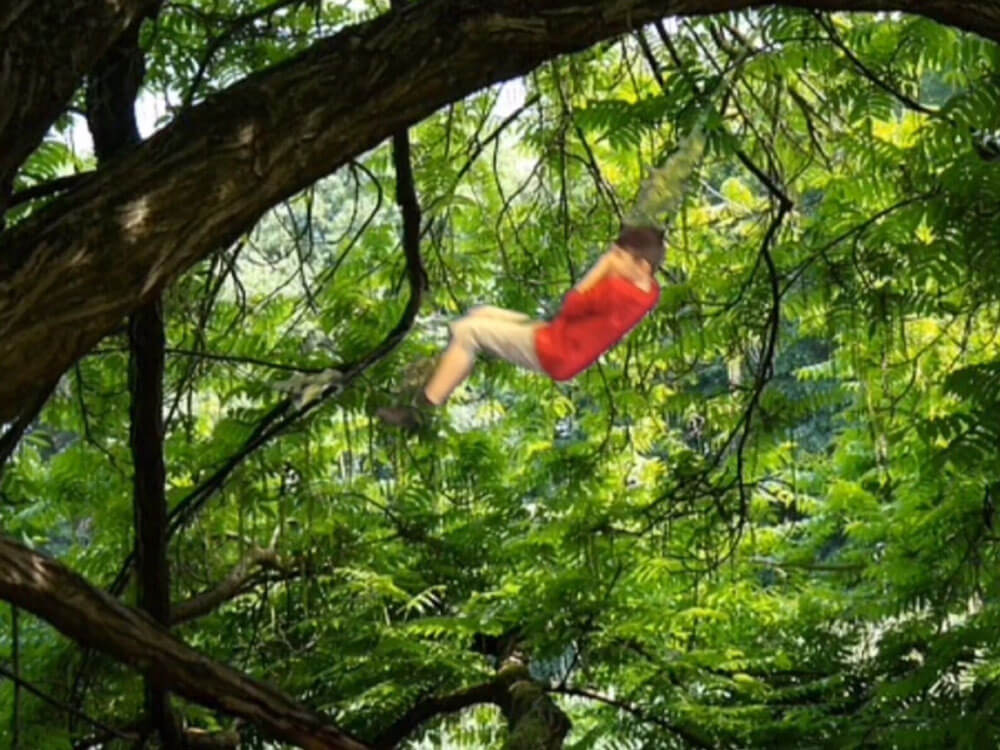
- Green Screen Tips: Don’t wear green! This might seem obvious but even clothes that are light blue can be tricky. Sometimes there are even small green details on a shirt that you might not notice or in props like the elf hats or the hat with dreadlocks. We had to use a blue screen to create the jungle scene. That day the student turned up wearing all blue. So naturally, we had to get new clothes. Bold colours like red really stand out in that type of scene. It’s worth trying ahead of time. We also ask students to bring clothes they can leave for a couple weeks. It is easy to underestimate how long it can take to film or that you might need to re-do scenes.
- The first take filming is almost always the best! I have started recording the “practice” takes because they are often the one we choose! It’s worth investing in a microphone. We use an iRig Mic and it dramatically improves the sound.
Special thanks: Angella Issajenko. Angella is an Educational Assistant (EA) in the HSP Program at FH Miller Jr. PS. She played an integral role in working with the students in small groups.
Mira Campbell has 18 years of experience as a Teacher-Librarian and Special Education Teacher with the Toronto District School Board (TDSB). She was part of their Digital Lead Learner program for 8 years and is a Book Creator Ambassador. She enjoys collaborating with teachers during Library Partnership projects and loves to celebrate students’ hard work with big reveals!
Related posts
-
 6 June, 2019
 -
 9 May, 2016
 -
 18 December, 2013
 -
 30 October, 2013
 -
 13 August, 2018
 -
 28 April, 2014
 -
 27 January, 2016
 -
 22 June, 2018
7 Comments on “How we created an interactive branching narrative book”
I love this article, is there a way to read the final version of the book?
Kind regards
Jonas
Here’s a link to the finished book.
When creating voice clips-media why does it read to me as well. How do you turn off audio for read to me and still have it play audio for recording for media.
You can’t do that right now. It’s something we’re looking at for the future.
Would it be possible to speak with someone involved with this project to know more about how it was proposed, planned, and implemented? I want to do a simpler version of this with my 6th grade inclusion class, and I stumbled across this article at the right time.
Hi Steph,
I would be happy to discuss it with you. Please email me at [email protected]
Mira
Can you make this book a template so we would make our own? I would likely be pleased to hear from you Dan.