

Apple Distinguished Educator Jane Ross lets us in on some of the tips and secrets she's learnt from publishing ebooks with her students.
1. Building relationships is key
My own children love telling stories, and my youngest son tells stories with style. He often tells stories about his own experiences in the third person. “John did this ... and then John said that.” He tells his stories with a mix between recounting what he did and what he said.
Read John Tambunan's story: 'How a 5-year-old became a published author with Book Creator
2. The book cover needs to stand out
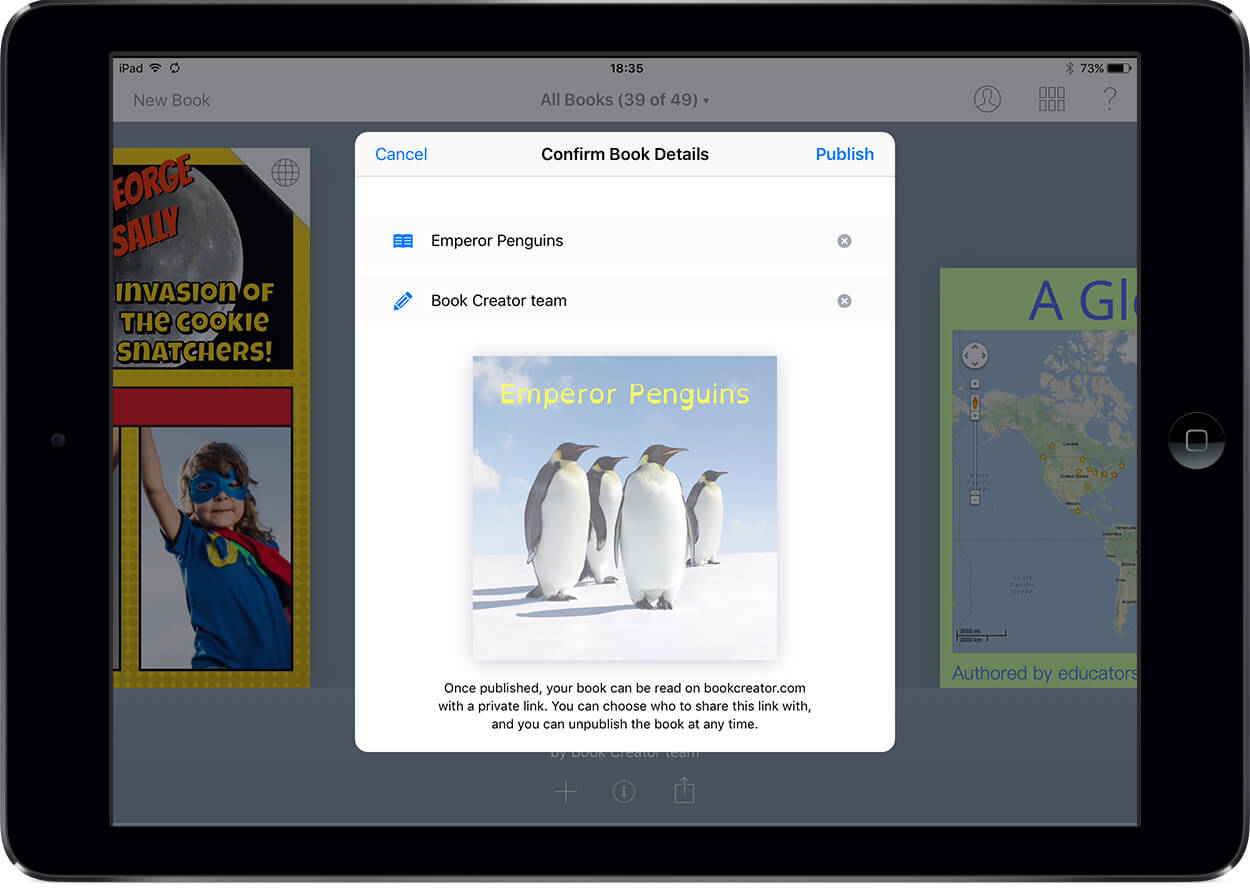
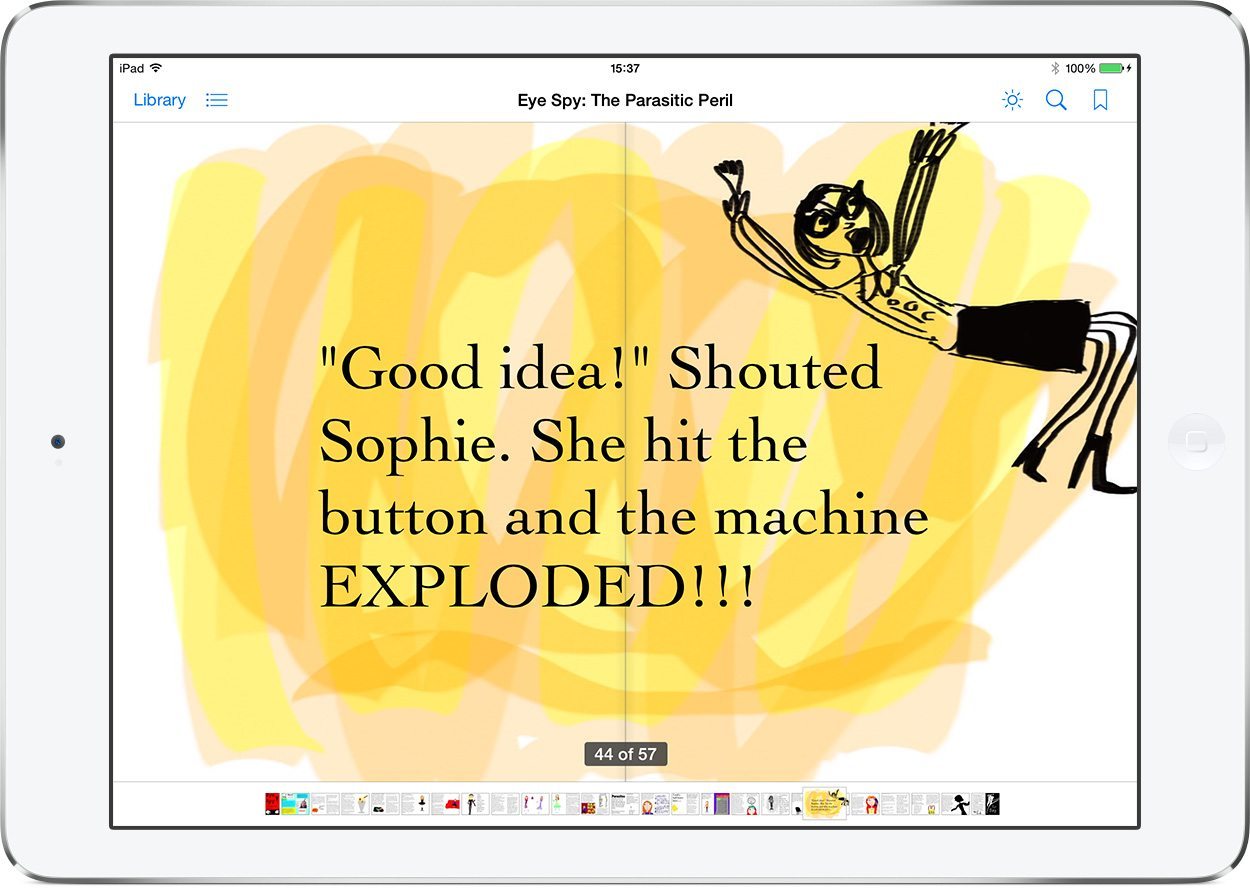
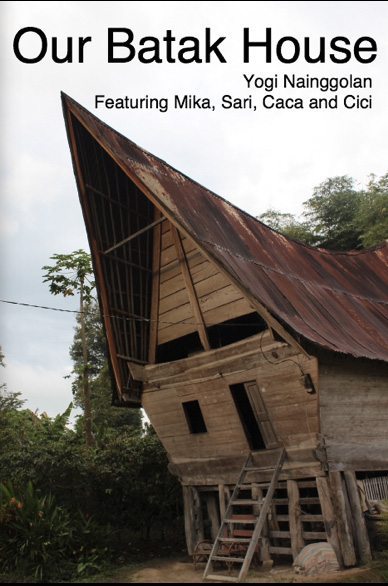 The most important image in your book is the cover. This has to show what the story is about and needs to be clear and dynamic.
Take a look at this cover. You can easily see what the content of this book will be about. The image it clear and it stands out. The image tells about the content of the book.
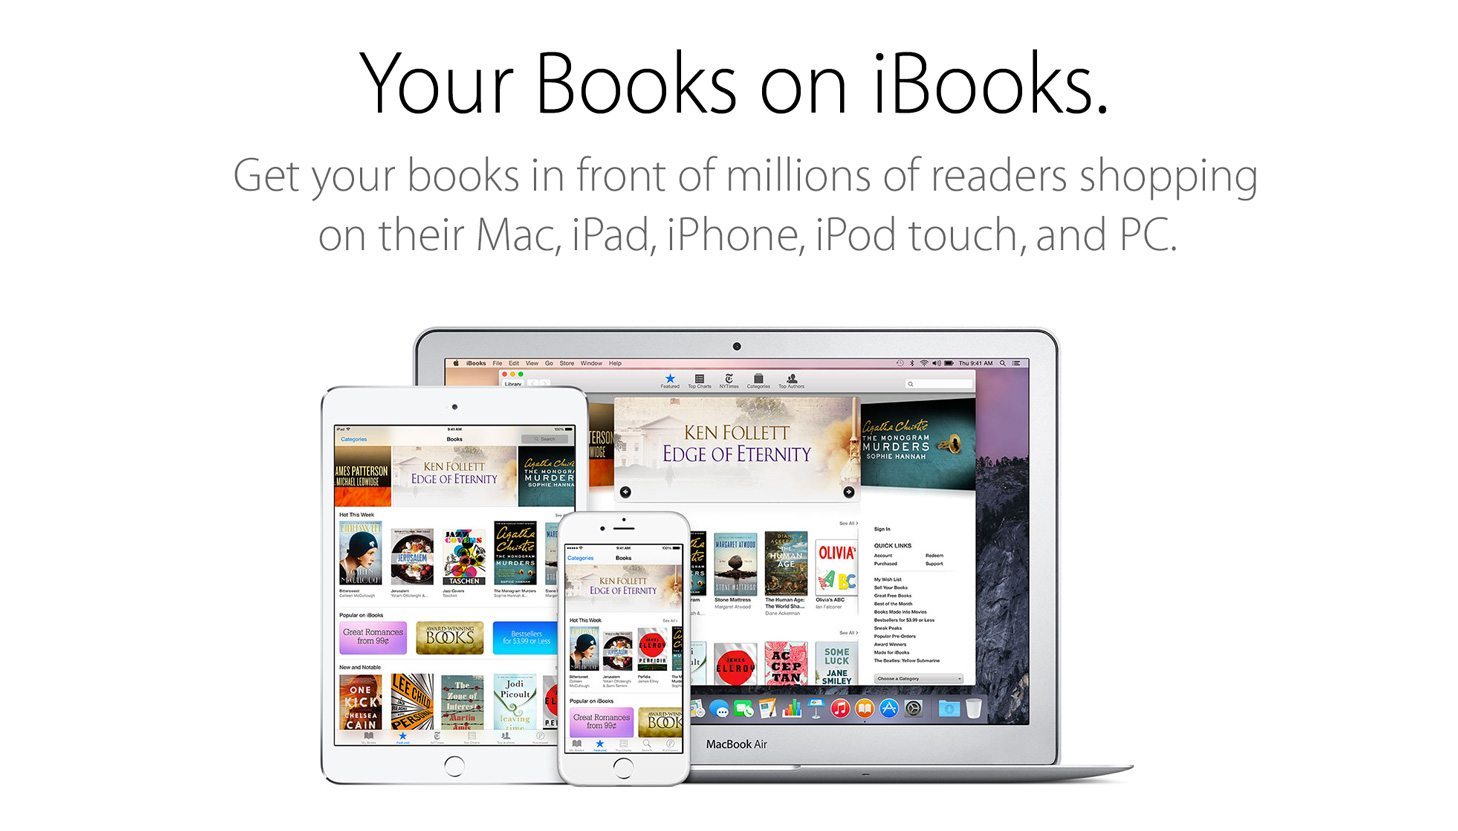
When your book is on the iBookstore - you want it to stand out from the others. This will encourage people to click on it. This will help your book to be 'seen' and not fade into the many other books on display.
To create a stand-out cover, use contrast and white space properly. I apply the same principles that I would use in painting. Look at the strong diagonal created by the slope of the roof of this house. It leads your eye from the title down the middle of the cover - magic! Be wise when helping your students choose their book cover.
3. Allow the story to be spontaneous
The model I use stays the same but it is important to realise that the teacher must build a relationship with the child. This is particularly important when working with students that are not in your regular classes as you need to take time to get to know your learner. I always start with the ‘why’ when working on developing a story. If the child can articulate why the story needs to be told, it will be much easier for them to create it.
When teaching story writing, the setting is often the first part of the story to be developed. If you listen to young children tell their stories orally, the setting is often bypassed in order to get to the action or conflict.
Children are spontaneous in the telling of their own stories. There is a real excitement there when sharing stories based on personal experiences. I believe that it’s because children can make deep connections to their stories, even to the point where they often want to re-enact parts of the story for you.
When children are then asked to write their story down in full that excitement often fades and the story becomes less spontaneous and more rigid. Sometimes children become disconnected and confused as to how to record their story. The events can often be written out of sequence as they try hard to remember what happened next.
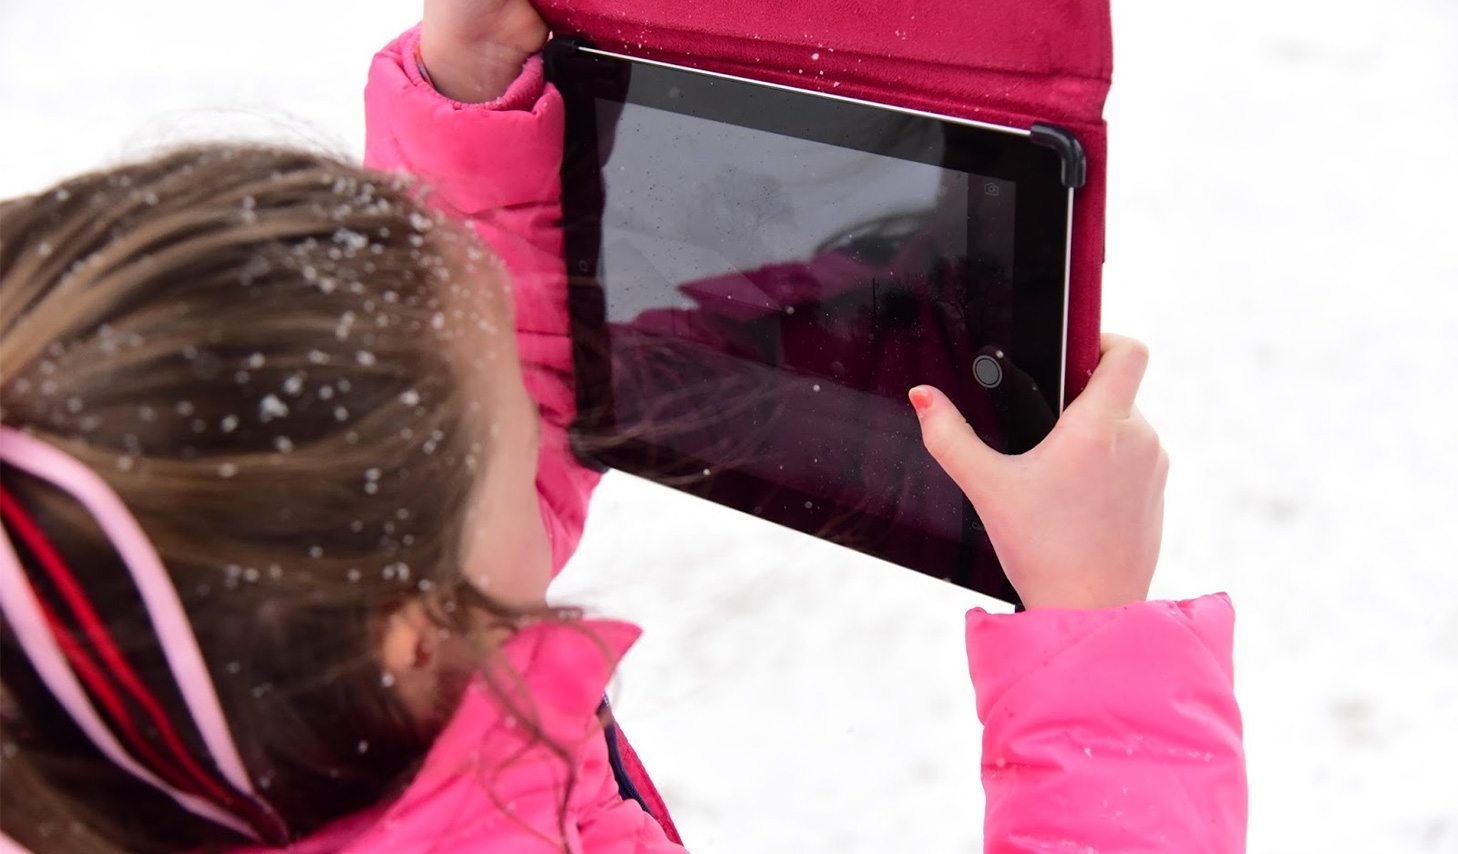
My approach is to encourage children to write about personal experiences that can be captured using an iPad. The iPad is perfect for capturing stories with its large screen and tactile surface. Children can quickly build their story and stay connected to it as it builds under their fingers. It could be a story about playing, catching a butterfly or even caring for a pet. It does need to be something that we can have access to so that the activity can be recorded as a series of photographs.
4. Storyboarding is key - work backwards from the ending
Once the main idea for the story has been decided upon, the sequence of events needs to be listed so that the children know what photographs are to be taken. I like to encourage the author to write down brief notes which can be easily referred to.Don’t ask the child to write the whole story before they take the photos. This can lead to issues later such as the photos don’t match with the story. Just write down a rough idea with a sequence of events.
Try to think of the story more as a storyboard and let the dialogue come later. Keep it simple and don’t worry if they haven’t got the idea for a complete story. This can be developed later. I encourage the children to work backwards by writing the ending first. The ending can often be harder to find than the beginning.
The content of a story book is made up of a beginning, a middle and an ending. I always follow this format as it is what most children are familiar with. My model goes a little beyond that so it includes two more sections. There is an ‘About the Author’ section and a ‘Behind the Story’ section.
This is to give more information to the reader so that this book can have more meaning for an international audience. It is essential that students are made aware that their books will be read by people from all over the world and that they need to tell their story in a way that everyone will understand.
5. Tell us who the author is
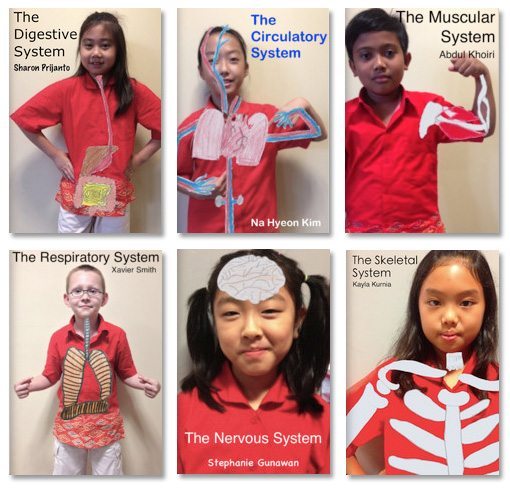
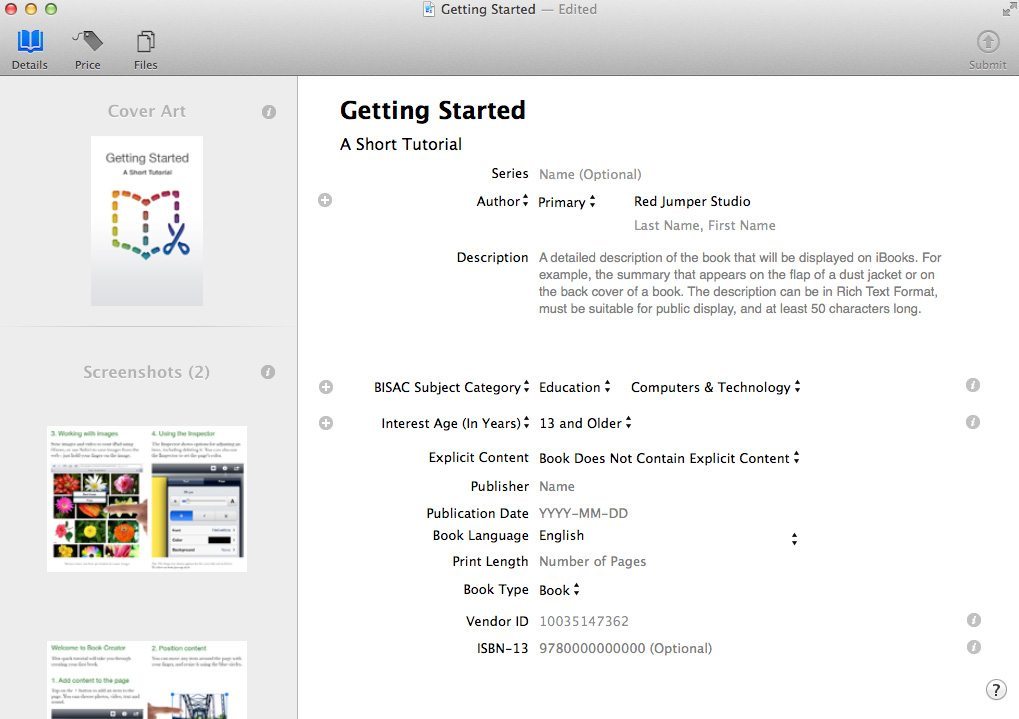
The 'About the Author' section of the book is very important. How else will people realise that the author is a child?
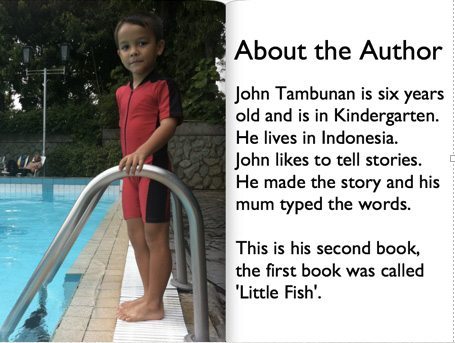
Using Book Creator it is very easy to create a book that looks very professional. If I didn't include an 'About the Author' section, people may not realise that the creator of the book is only 7 or 8 years old.... or even 5!
I also like to include a 'Behind the Story' section for project books such as the Backpack Classroom series and my current ebook project with deaf students. I want the readers to understand some of the background information behind each book.
This is important so that the reader can make connections. It helps our readers to empathise with the story and what it represents.
6. Remember that you might be writing for an international audience
My Backpack Classroom books are being downloaded all over the world. Many children from the US are downloading these books and would not realise that the authors come from very modest means. The authors are rice famers' children and don't have access to the same types of resources or even the same level of education that a child in the US has. Creating a 'Behind the Story' section can help your readers to understand these things better.
Have a look at this screencasting of the book 'Our Batak House' and the context provided at the end of the book:
Artful Innovator teaching Elementary Design at the American Community School of Abu Dhabi. Publisher, author, presenter, ADE 2008, National Geographic Educator, LEGO® SERIOUS PLAY® facilitator, and Book Creator Ambassador.
Related posts
-
 30 September, 2013
 -
 5 May, 2017
 -
 17 February, 2016
 -
 11 November, 2013
 -
 8 August, 2014
 -
 11 November, 2013
 -
 12 November, 2020
 -
 25 January, 2018
3 Comments on “6 secrets of publishing ebooks with iPads”
Thank you for the excellent tips and ideas! I teach a 5th grade class (10-11) in the US, and we have recently begun using Book Creator. I’m going to incorporate several of your ideas into a new writing project we are starting this week.
Is there a blog or website that my students can visit and give feedback to your students about their iBooks?
Also, could you tell me you created the screencast of the “Our Batak House” iBook?
Thank you!
Hi Jonah,
Thanks for your comment. I have a blog where I post things when I have time. My blog is at the end of that post. You may want to read my iBook ‘Inspiring Young Authors’ about the Backpack Classroom. It’s on the Apple iBookstore and is free.
I made the video by using the Reflector app and mirroring my iPad to my Macbook. Then I recorded the book using the screencast tool in Quicktime on MacBook.
We also have a school online library where your students can download books and leave comments. No accounts necessary.
http://www.blogs.swa~jkt.com/swa/bookstore.
Thanks and I hope this helps.
wow, I’ve just found your blog this year of 2023.
Amazing.